So, having built a cold smoker, it was now time to try it.
Salmon needs to be cured before smoking. I made up a cure using juniper, bay and black pepper.
Cure ingredients:
250g salt (I use Pure Dried Vacuum Salt – if you approve of Amazon, here’s the link)
250g demerara sugar
about a dozen black peppercorns
about half a dozen juniper berries
3 dried bay leaves
Grind up the peppercorns, bay and juniper and mix in with the salt and sugar. I have a large flat plastic box that conveniently takes a side of salmon. Spread a thin layer of the cure mixture in the box.
Sometimes fish seems to be wet when you buy it. If this is case then pat the salmon dry. An old tea towel works best as paper towels usually disintegrate.
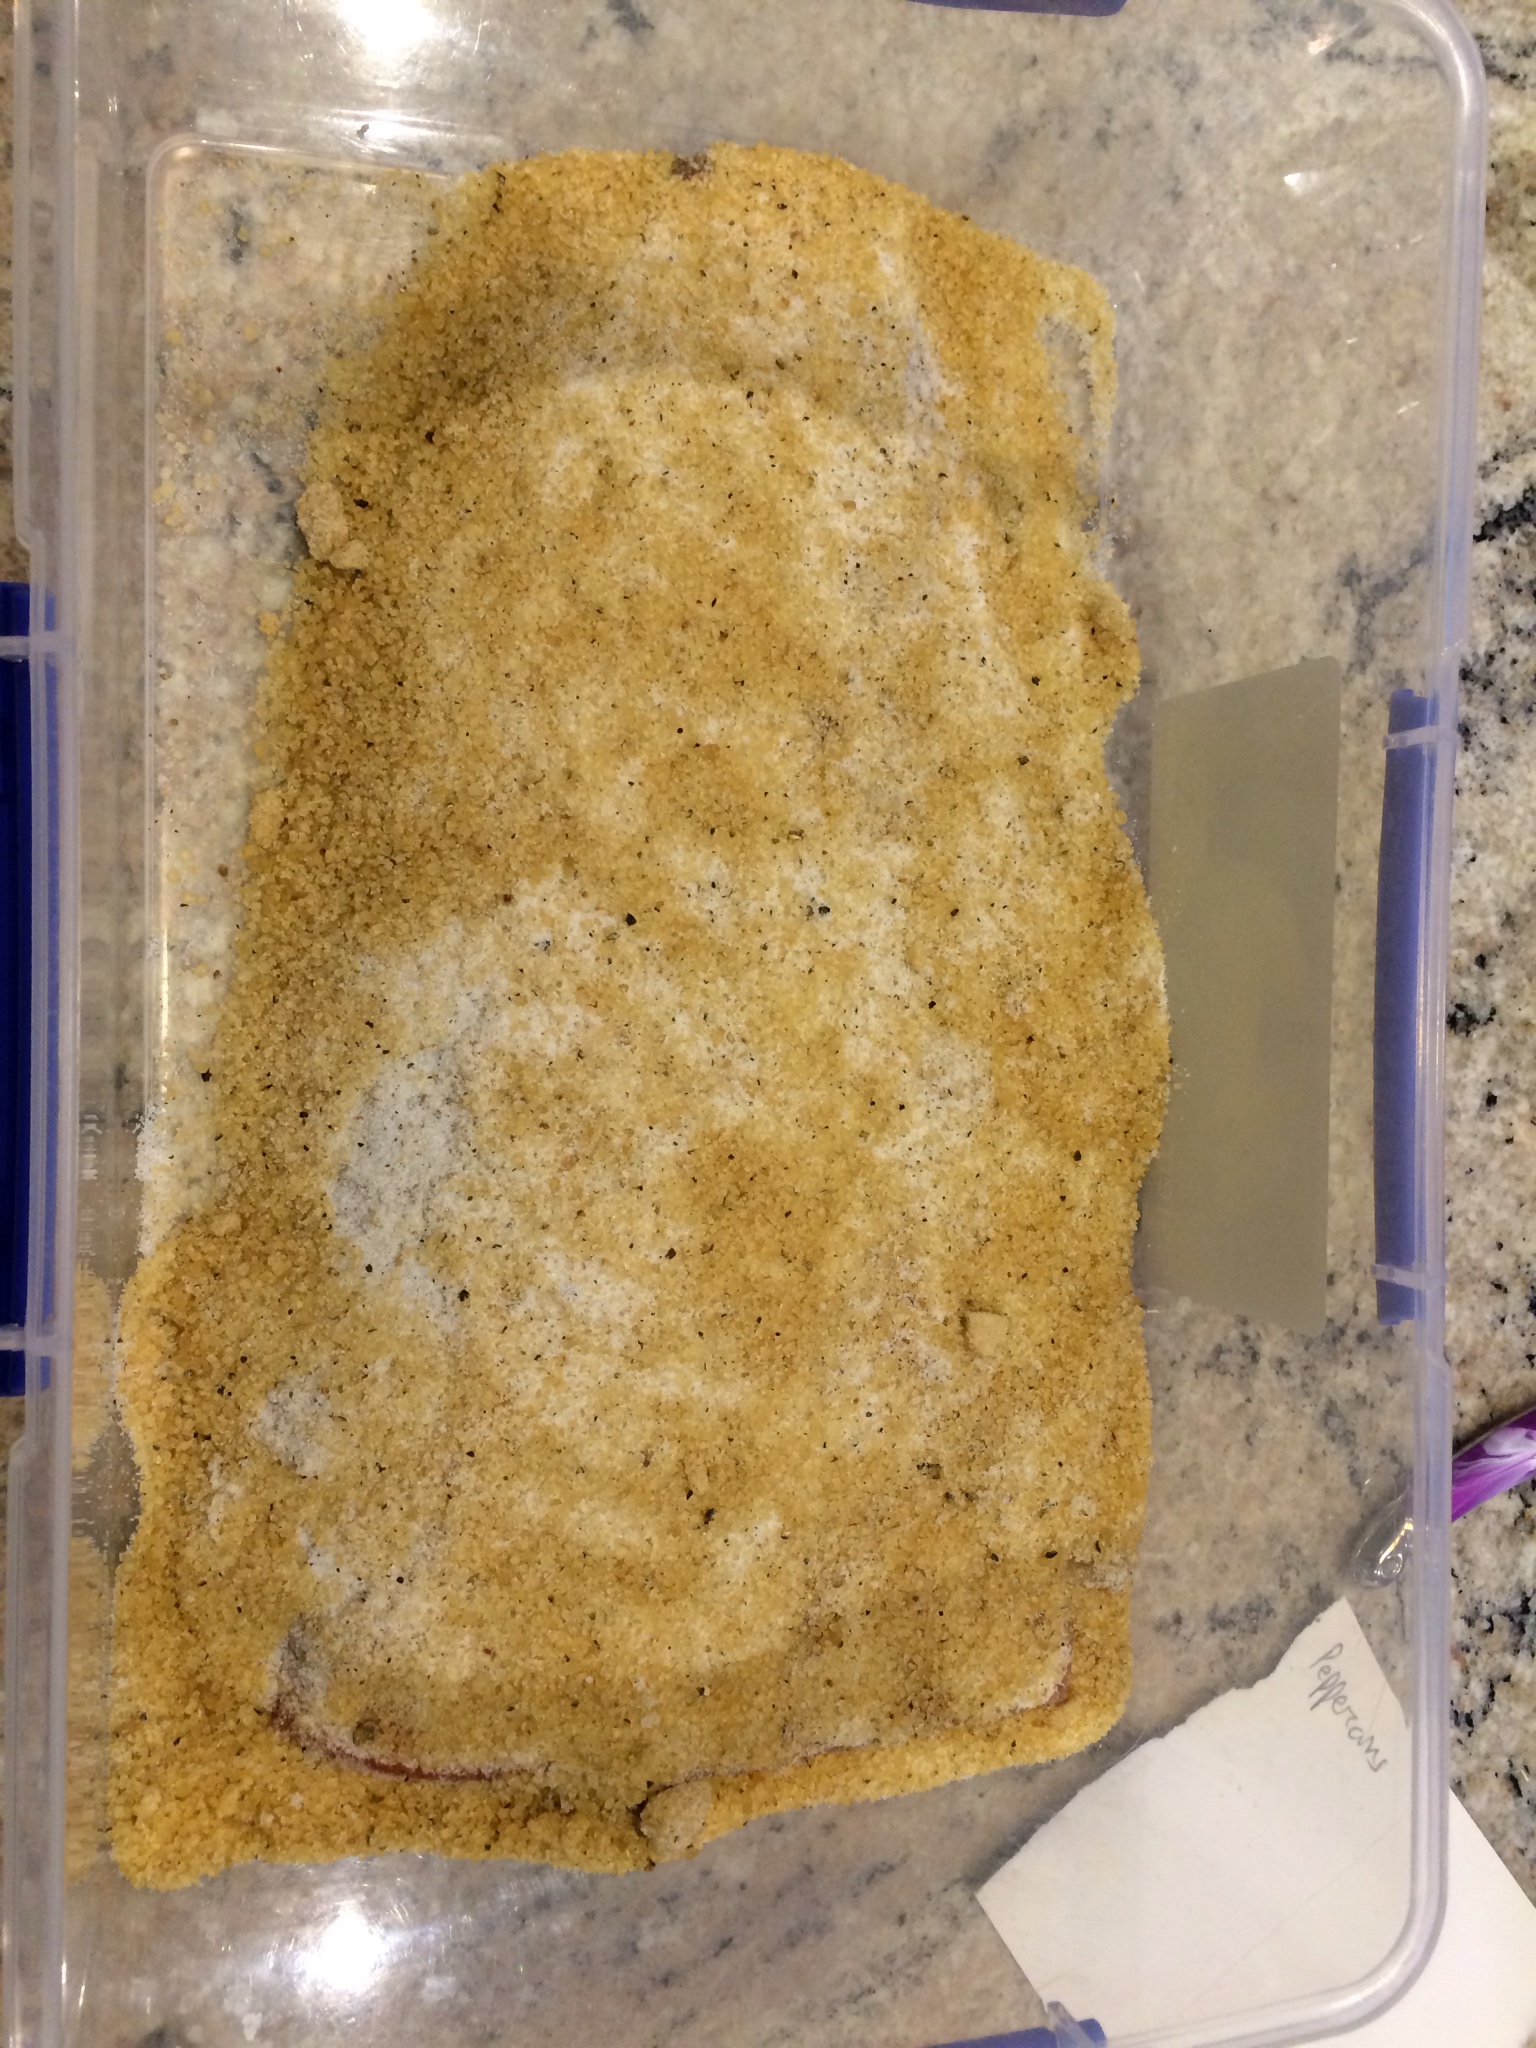
Place the salmon in the box. It should be skin side down. Sprinkle cure mixture all over the salmon and rub in. Generously cover with more of the cure mixture.
It should look like this:
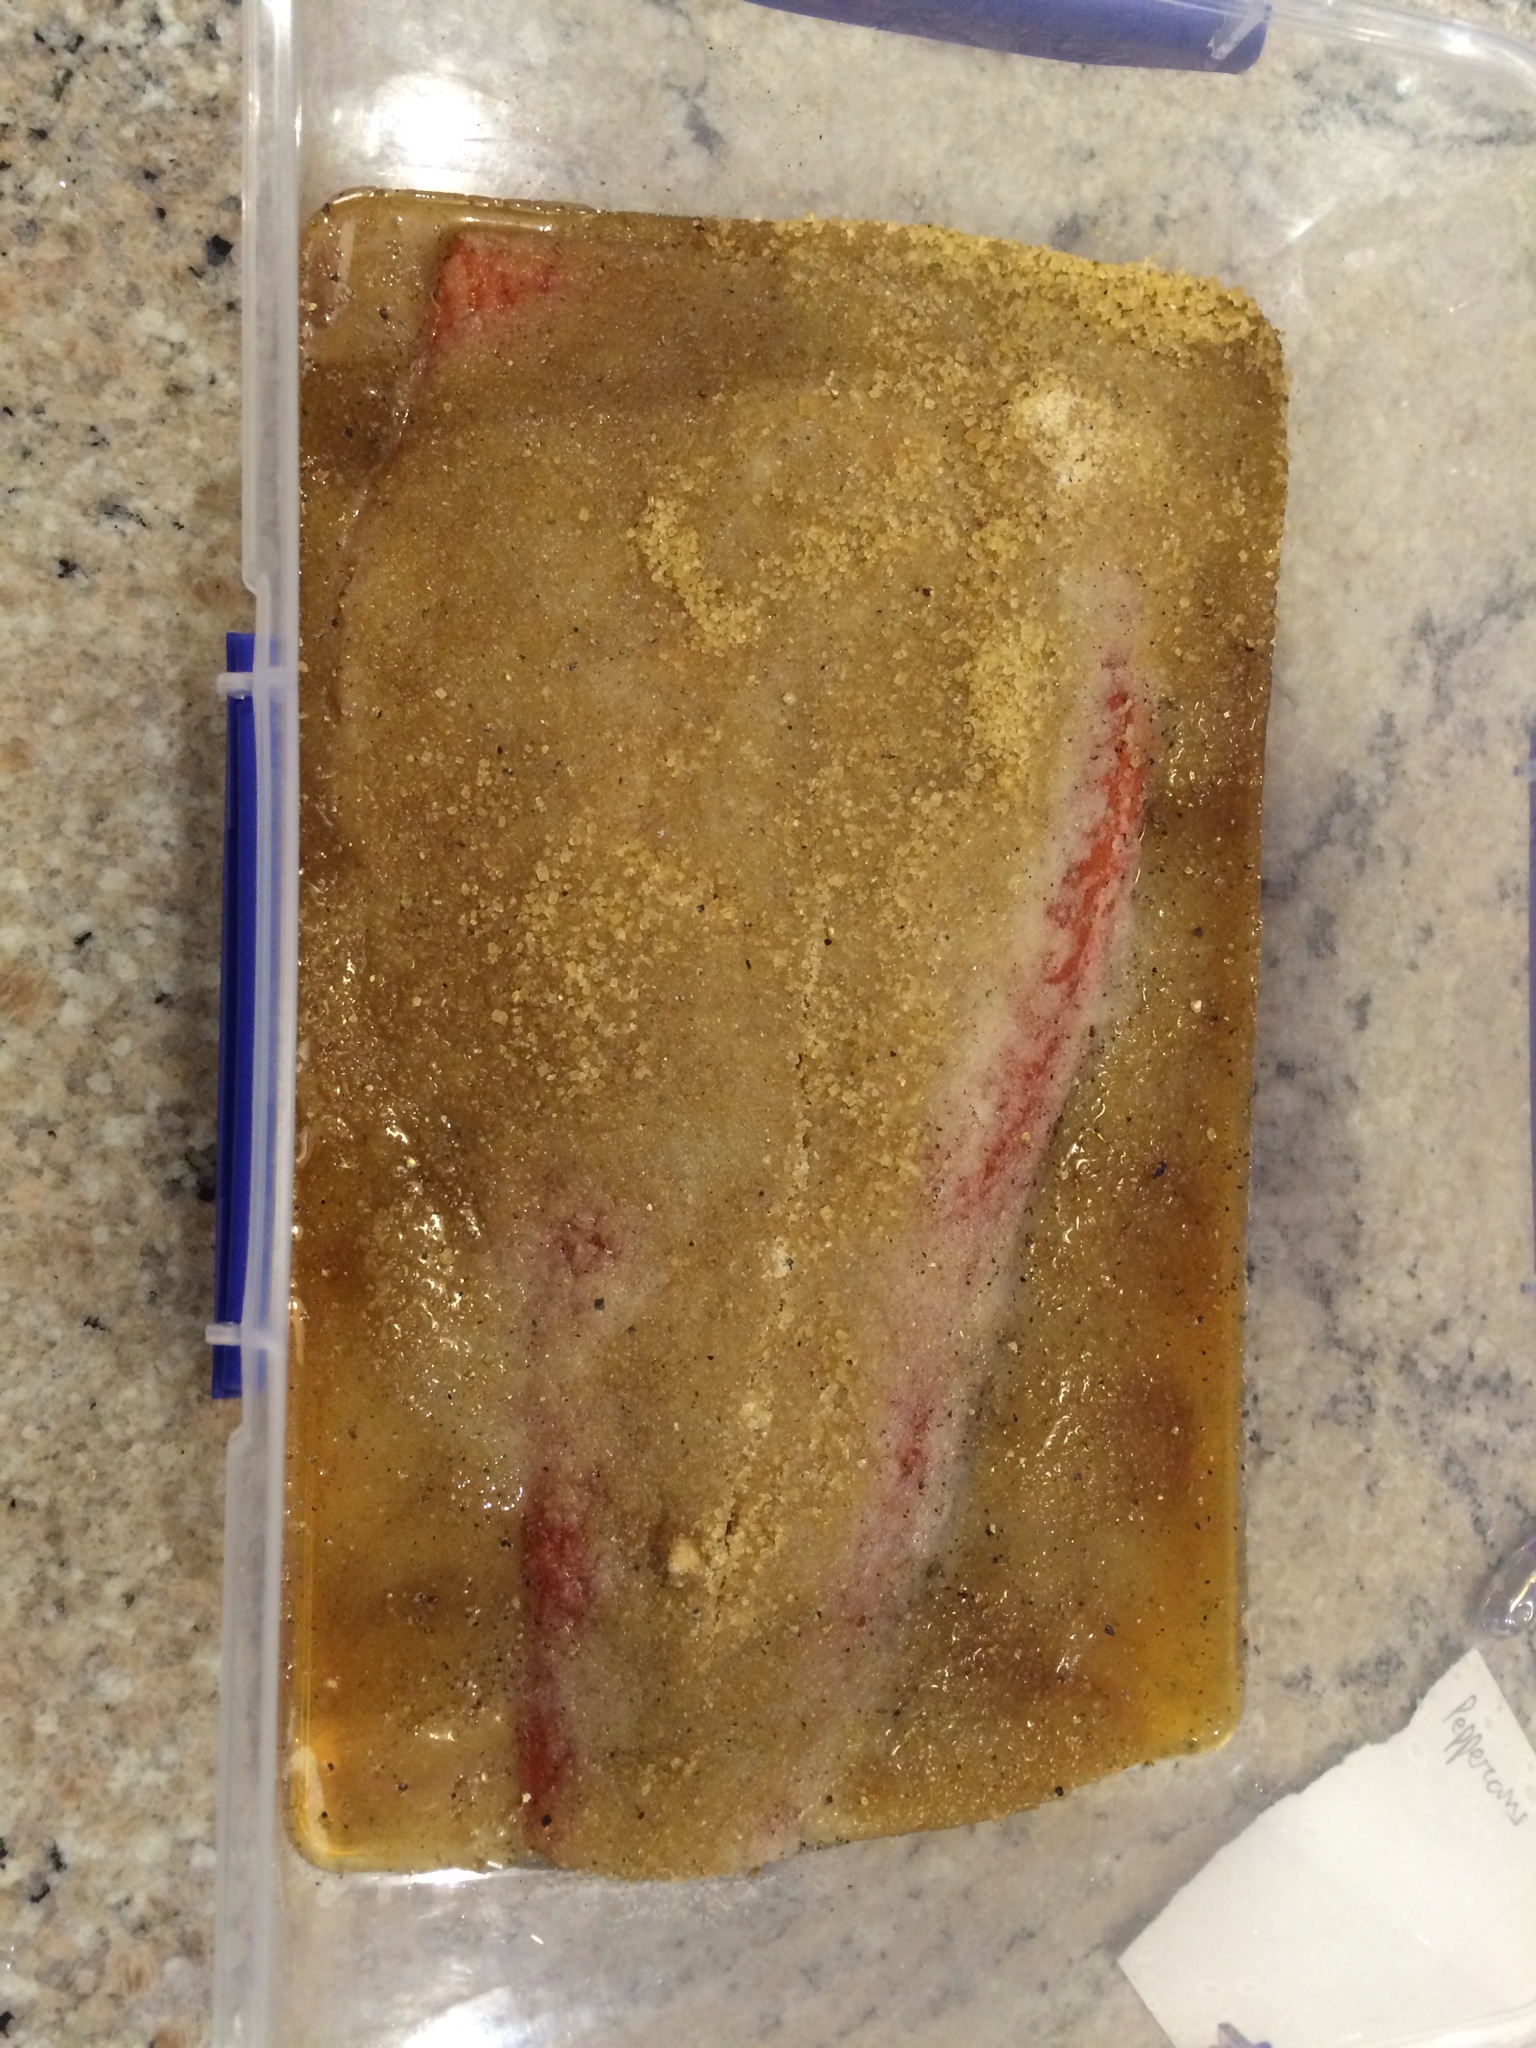
Then return the salmon to the fridge and leave it uncovered. We now have to wait for a pellicle to form. This is a shiny layer on the surface of the finish. The pellicle allows the salmon to absorb the flavour of the smoke. It look about 12 hours for the pellicle to appear when I first tried this.
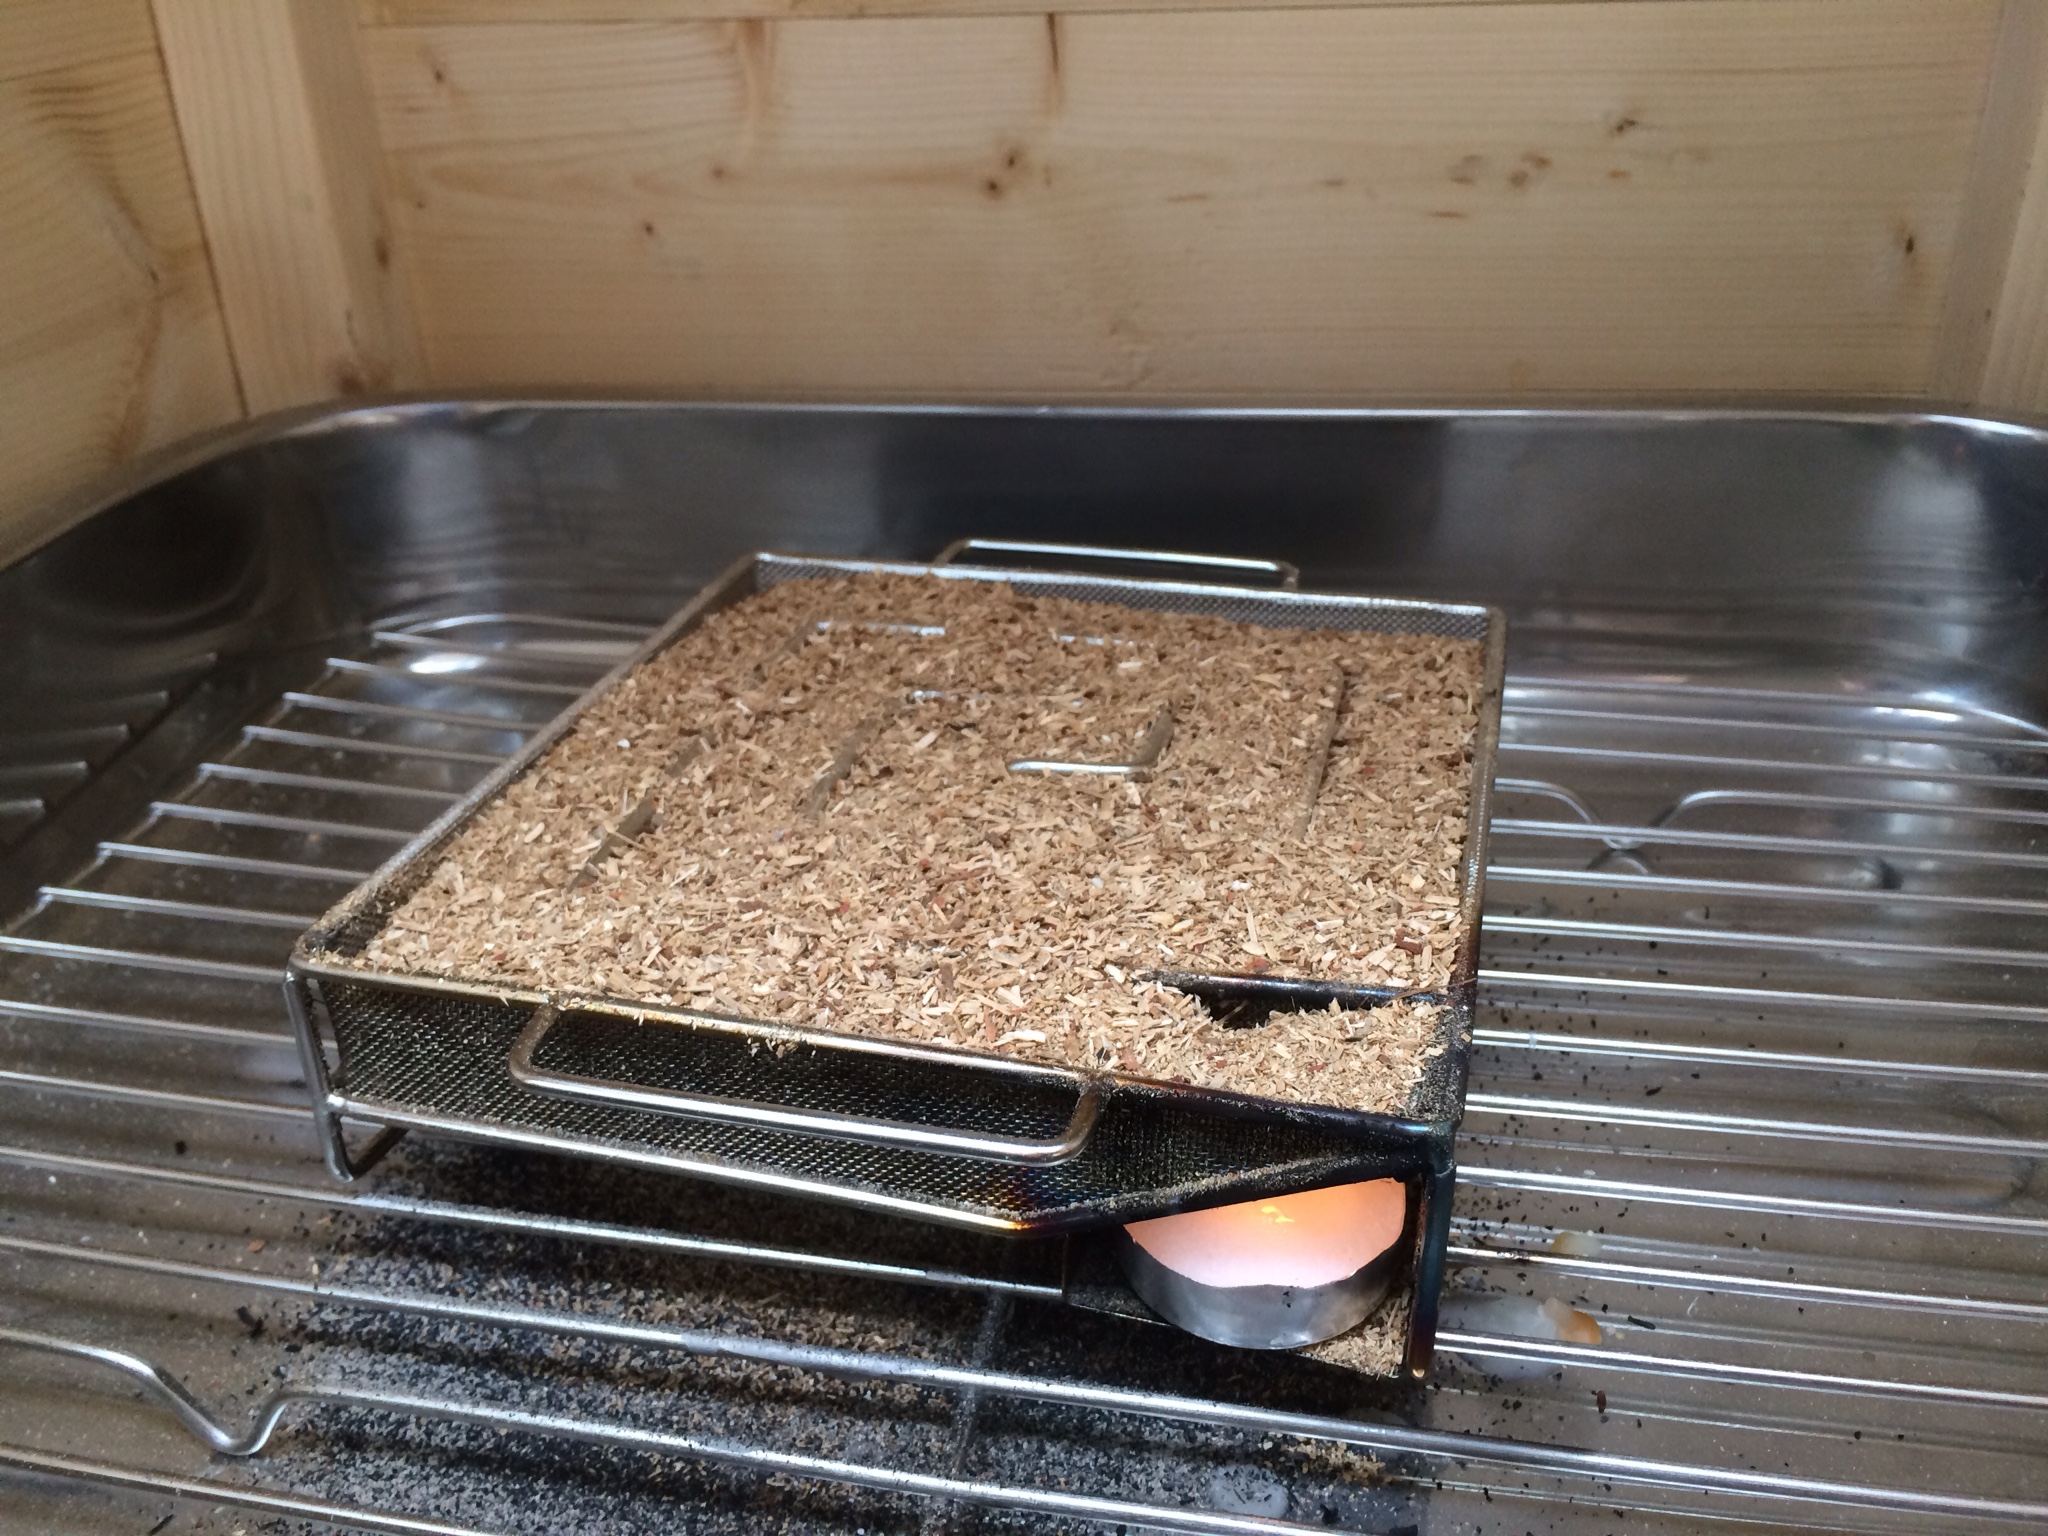
Next task is to start the smoker. Fill the smoke generator with wood chippings/dust. Press it down fairly firmly. Then light a night light. Place it under the corner of the smoker. Wait for the wood to start smouldering. Then remove the night light. This can be a bit tricky. I got hot wax on my fingers when I first did it. I would suggest driving the tip of a long screen into the side of the night light to act as a handle.
Here is the smoke generator starting up:
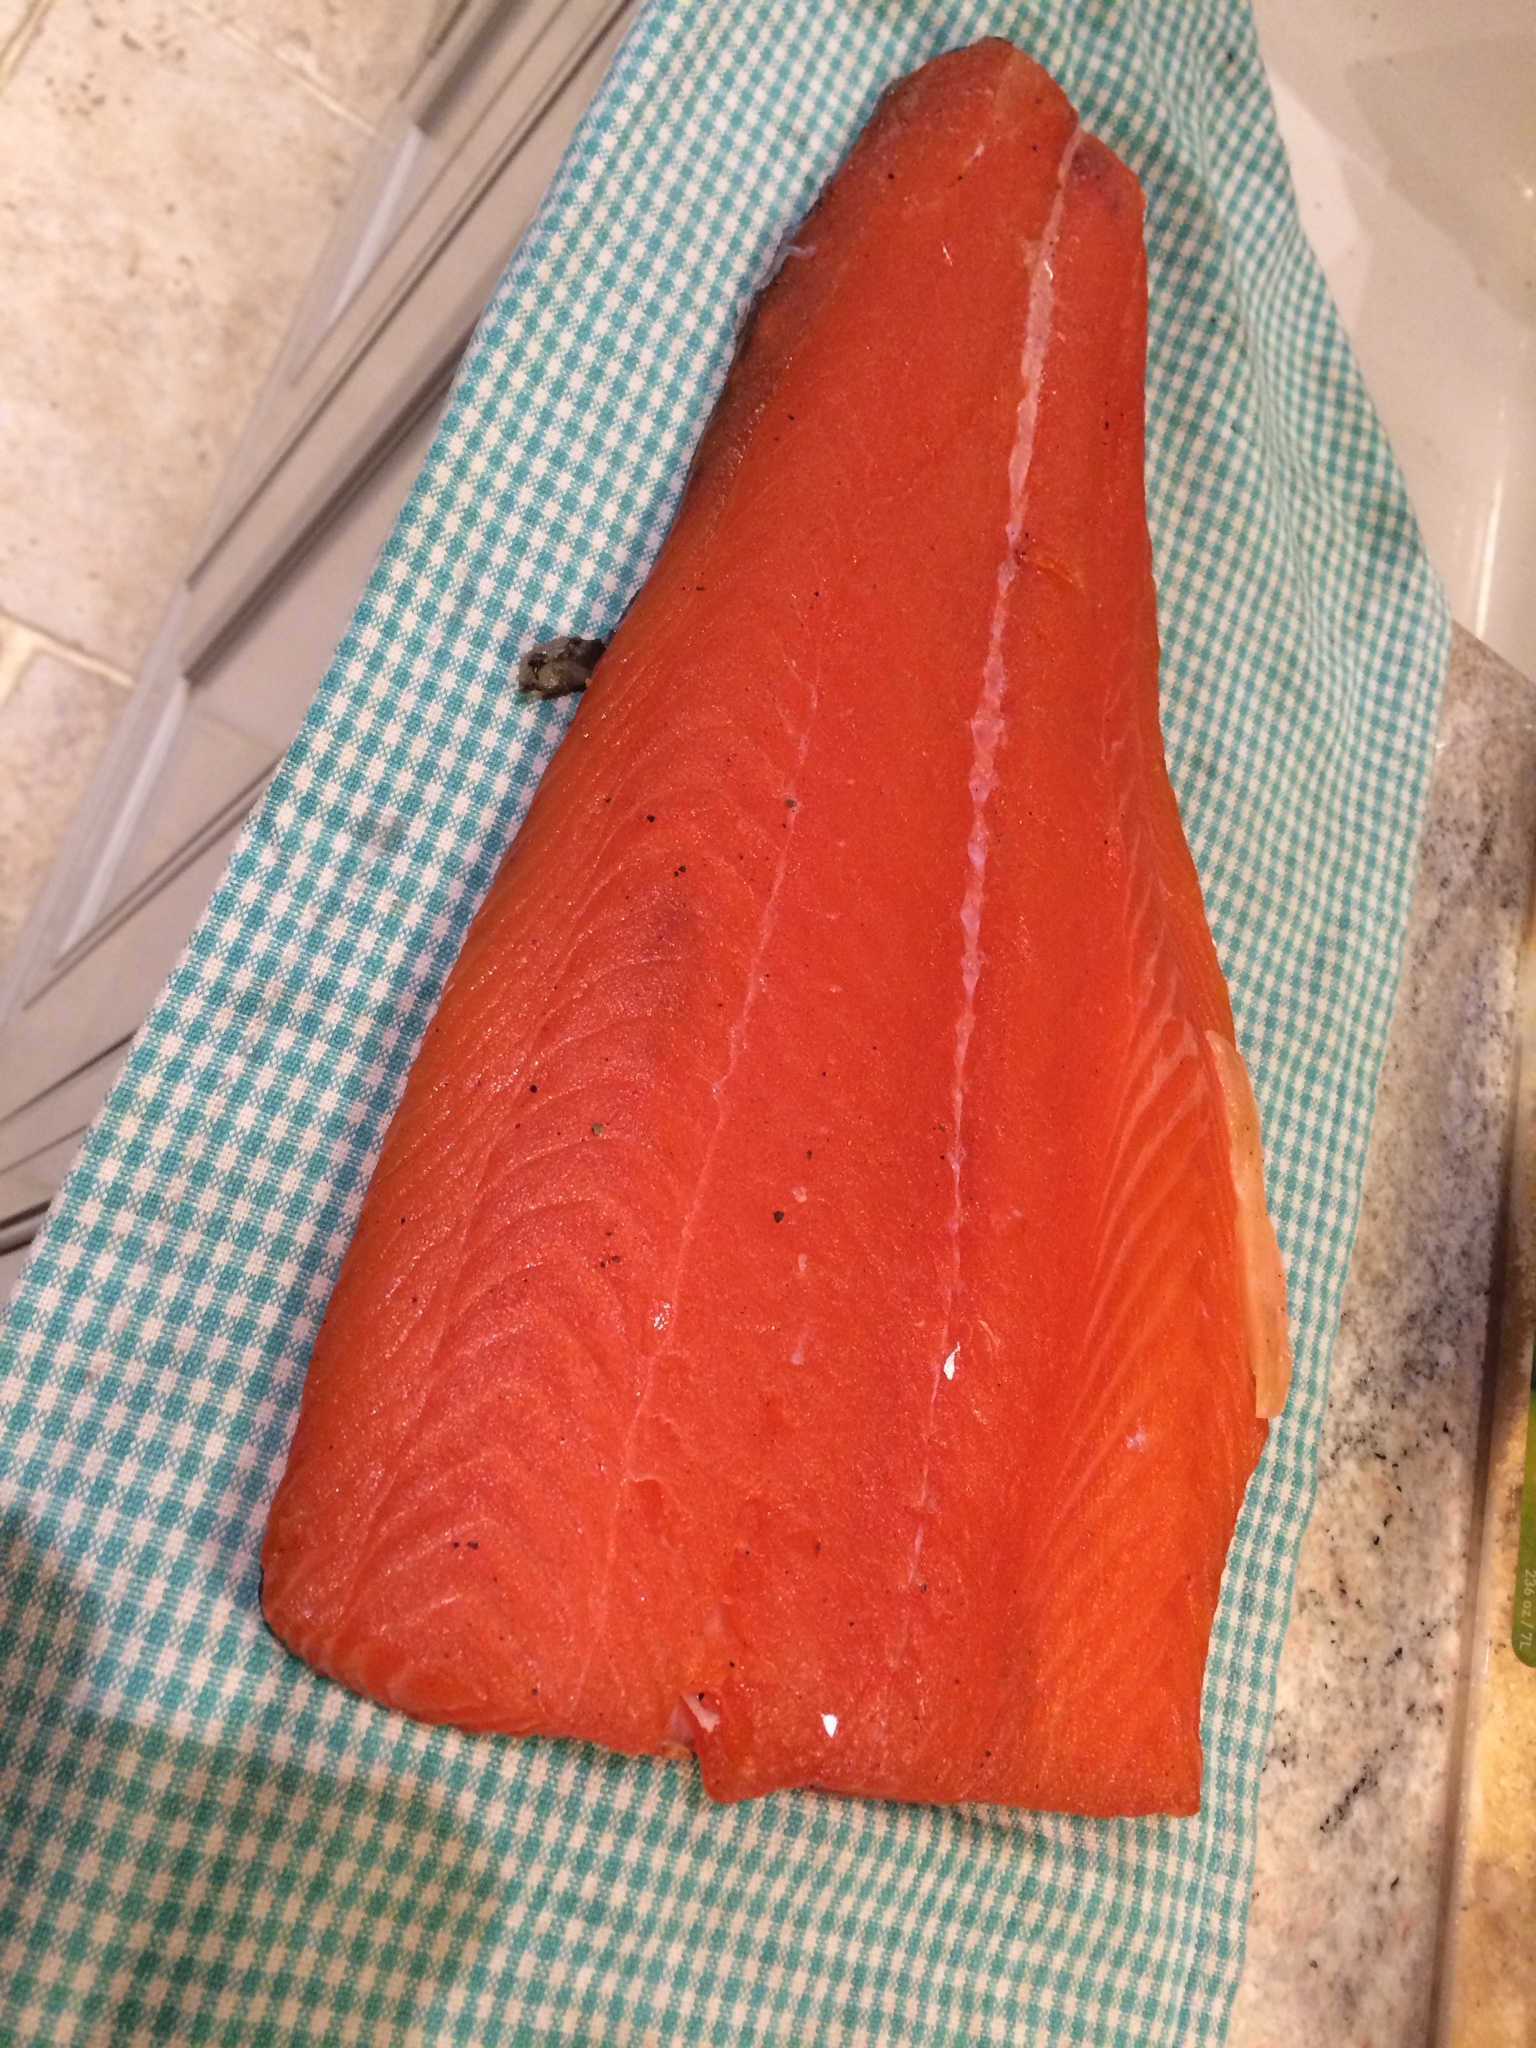
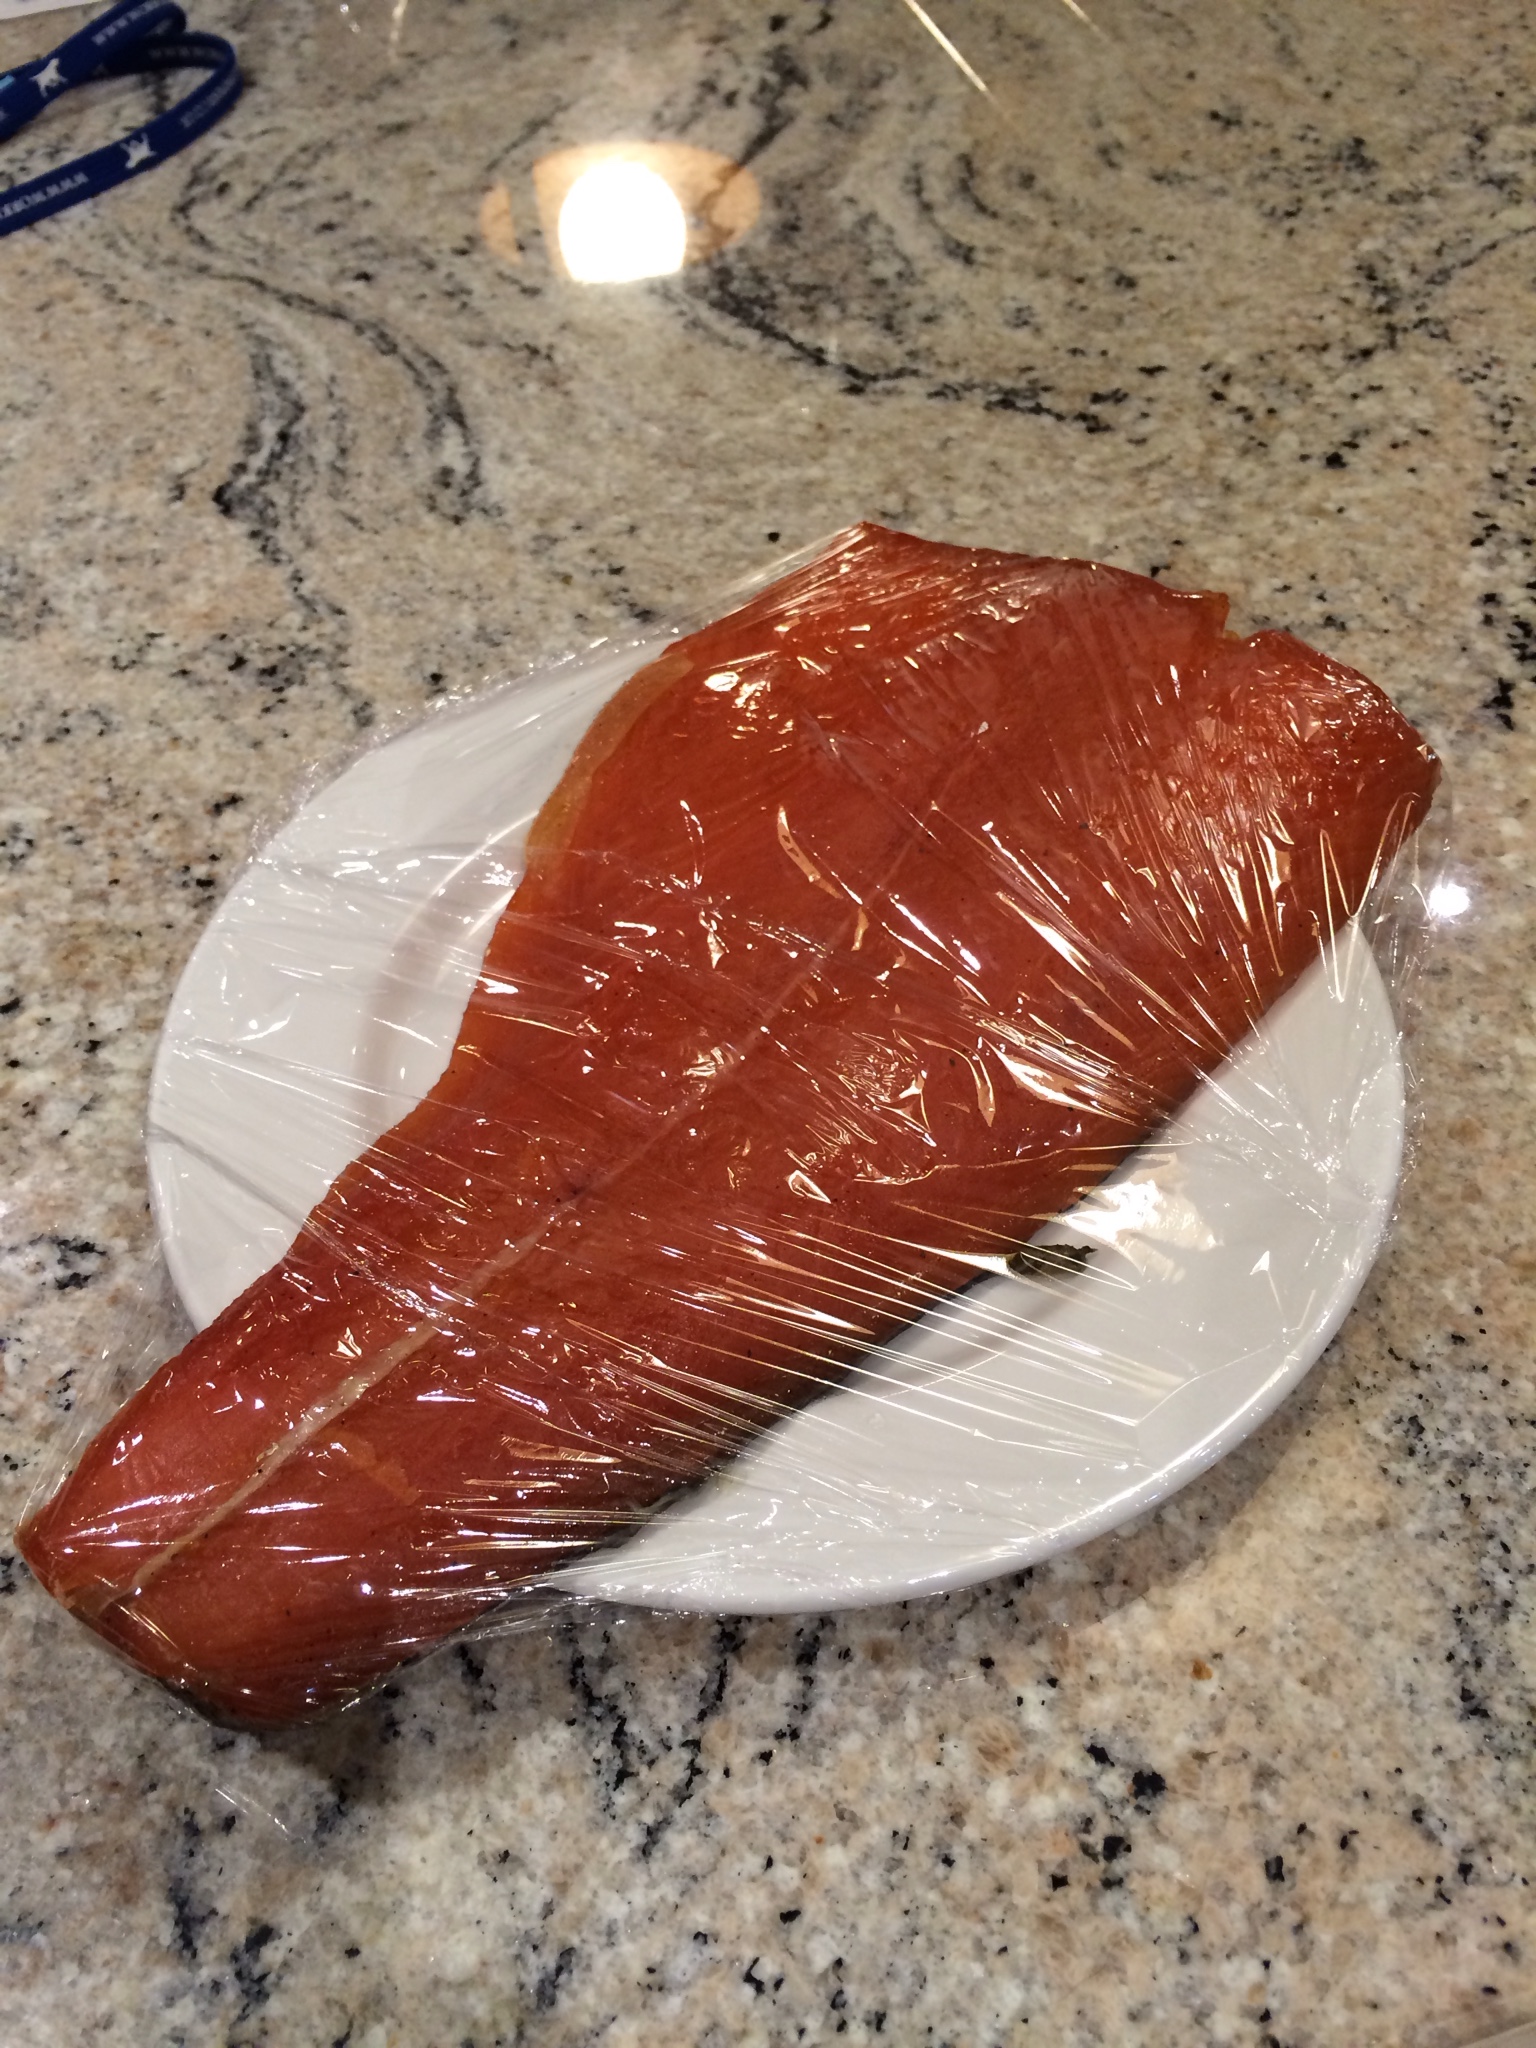
Here is the salmon after it had been smoked. It has a slightly smoky flavour but could, on reflection, have been a bit stronger. Next time I’ll try and resist continually opening the smoker to check on progress.
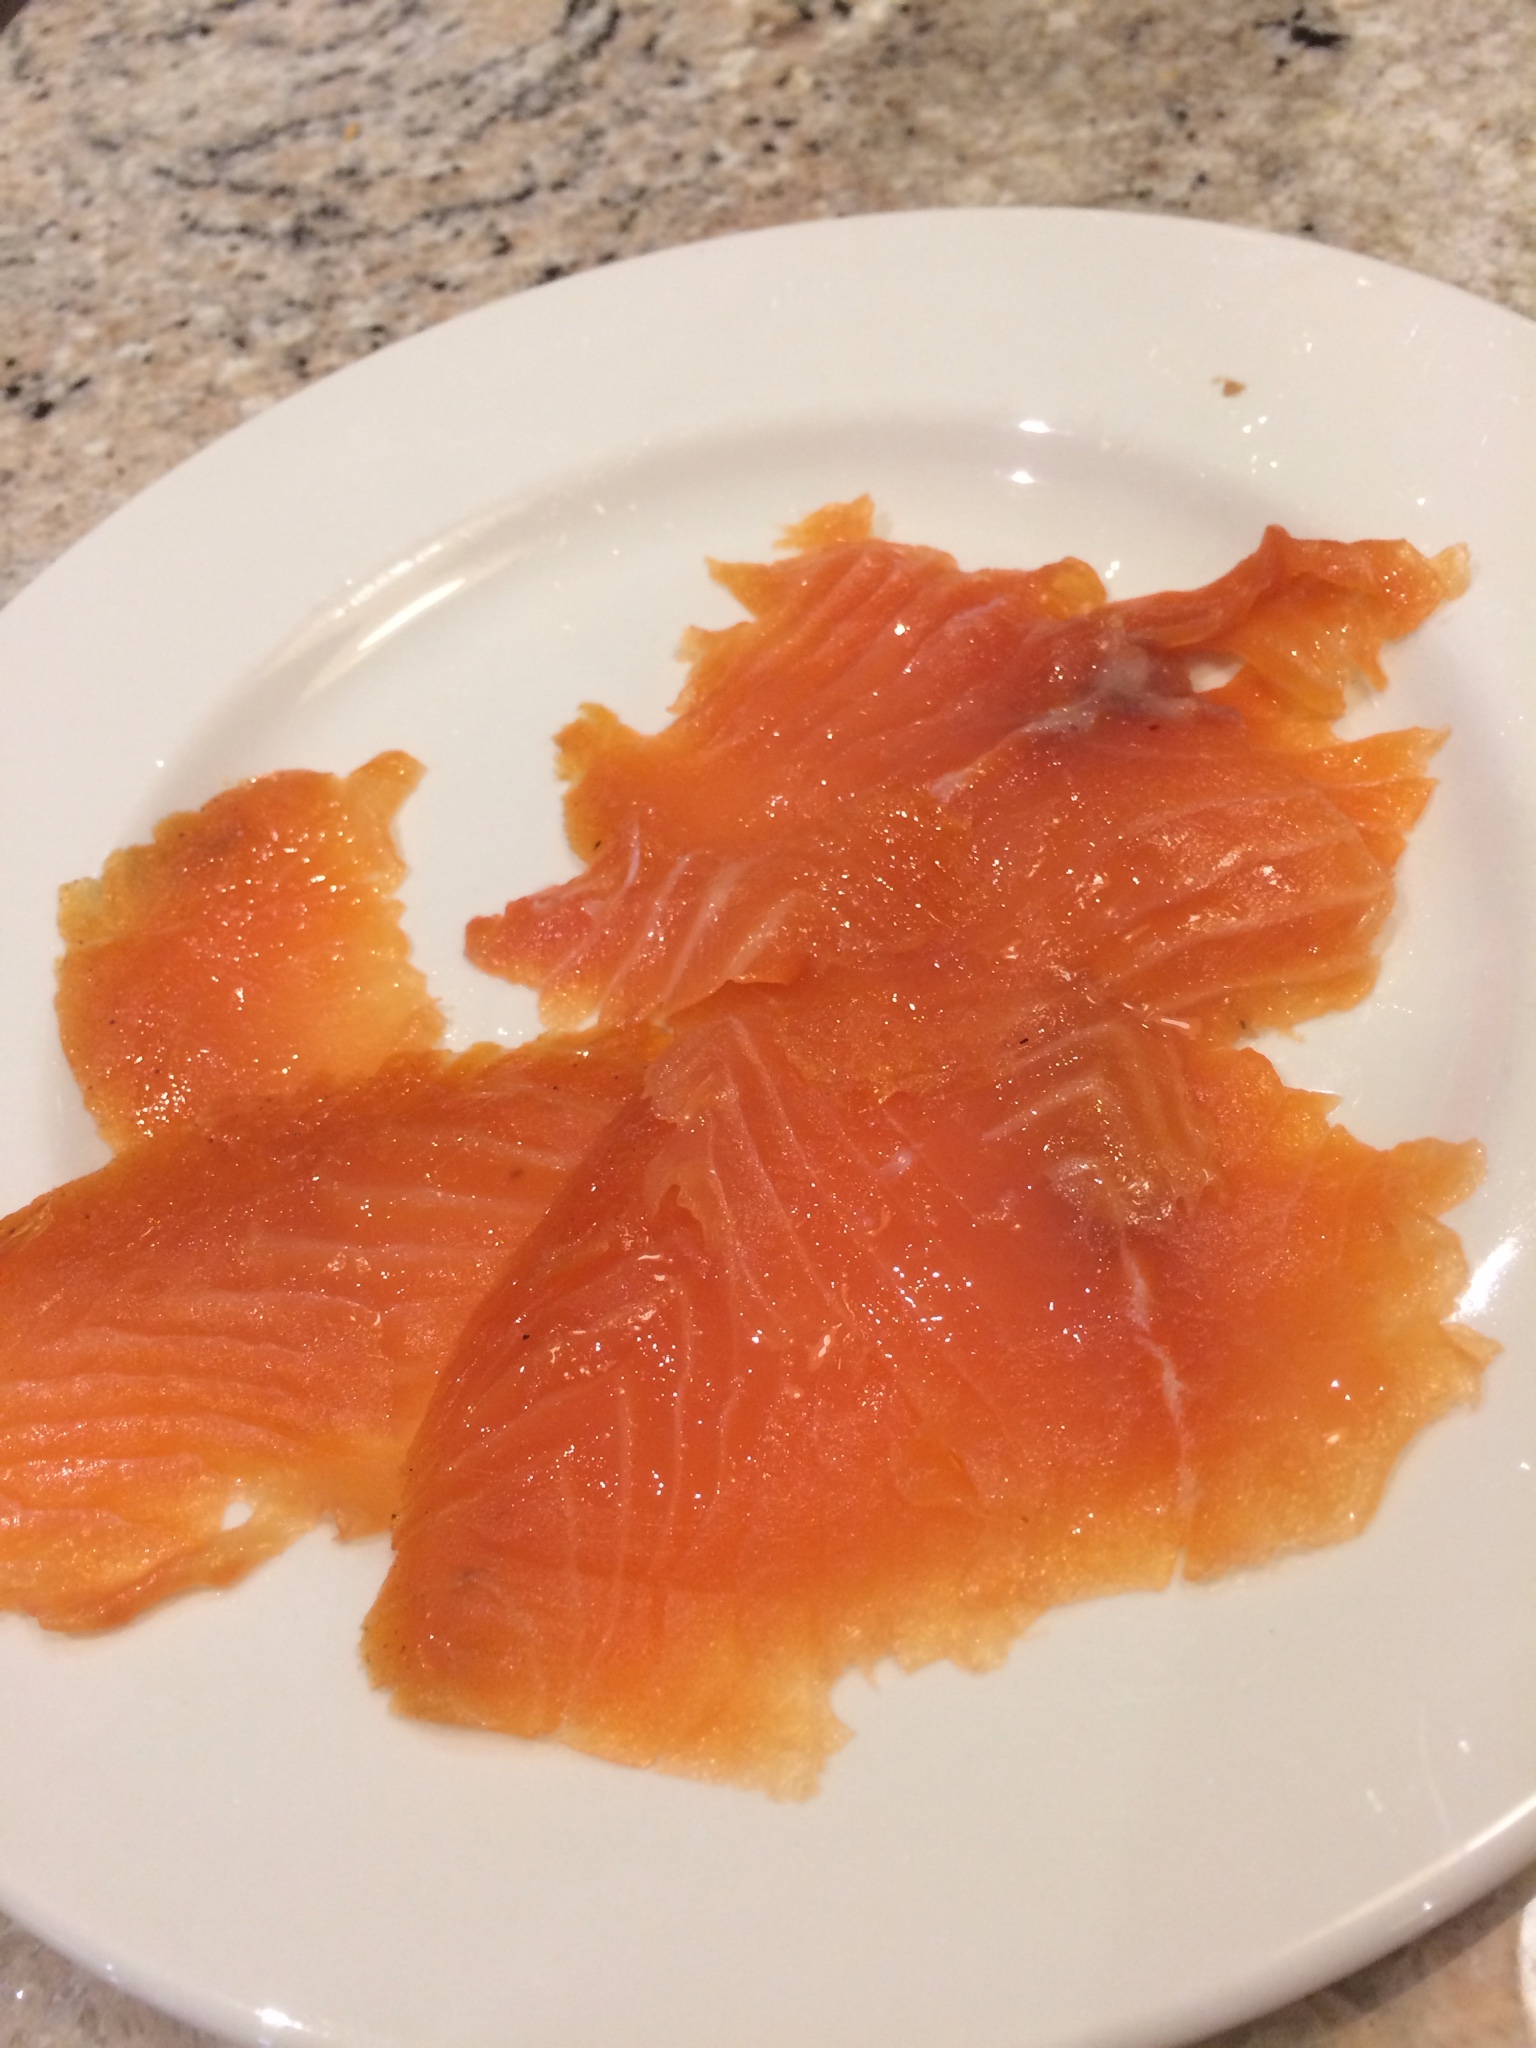
Here’s the smoked salmon sliced and ready to eat.
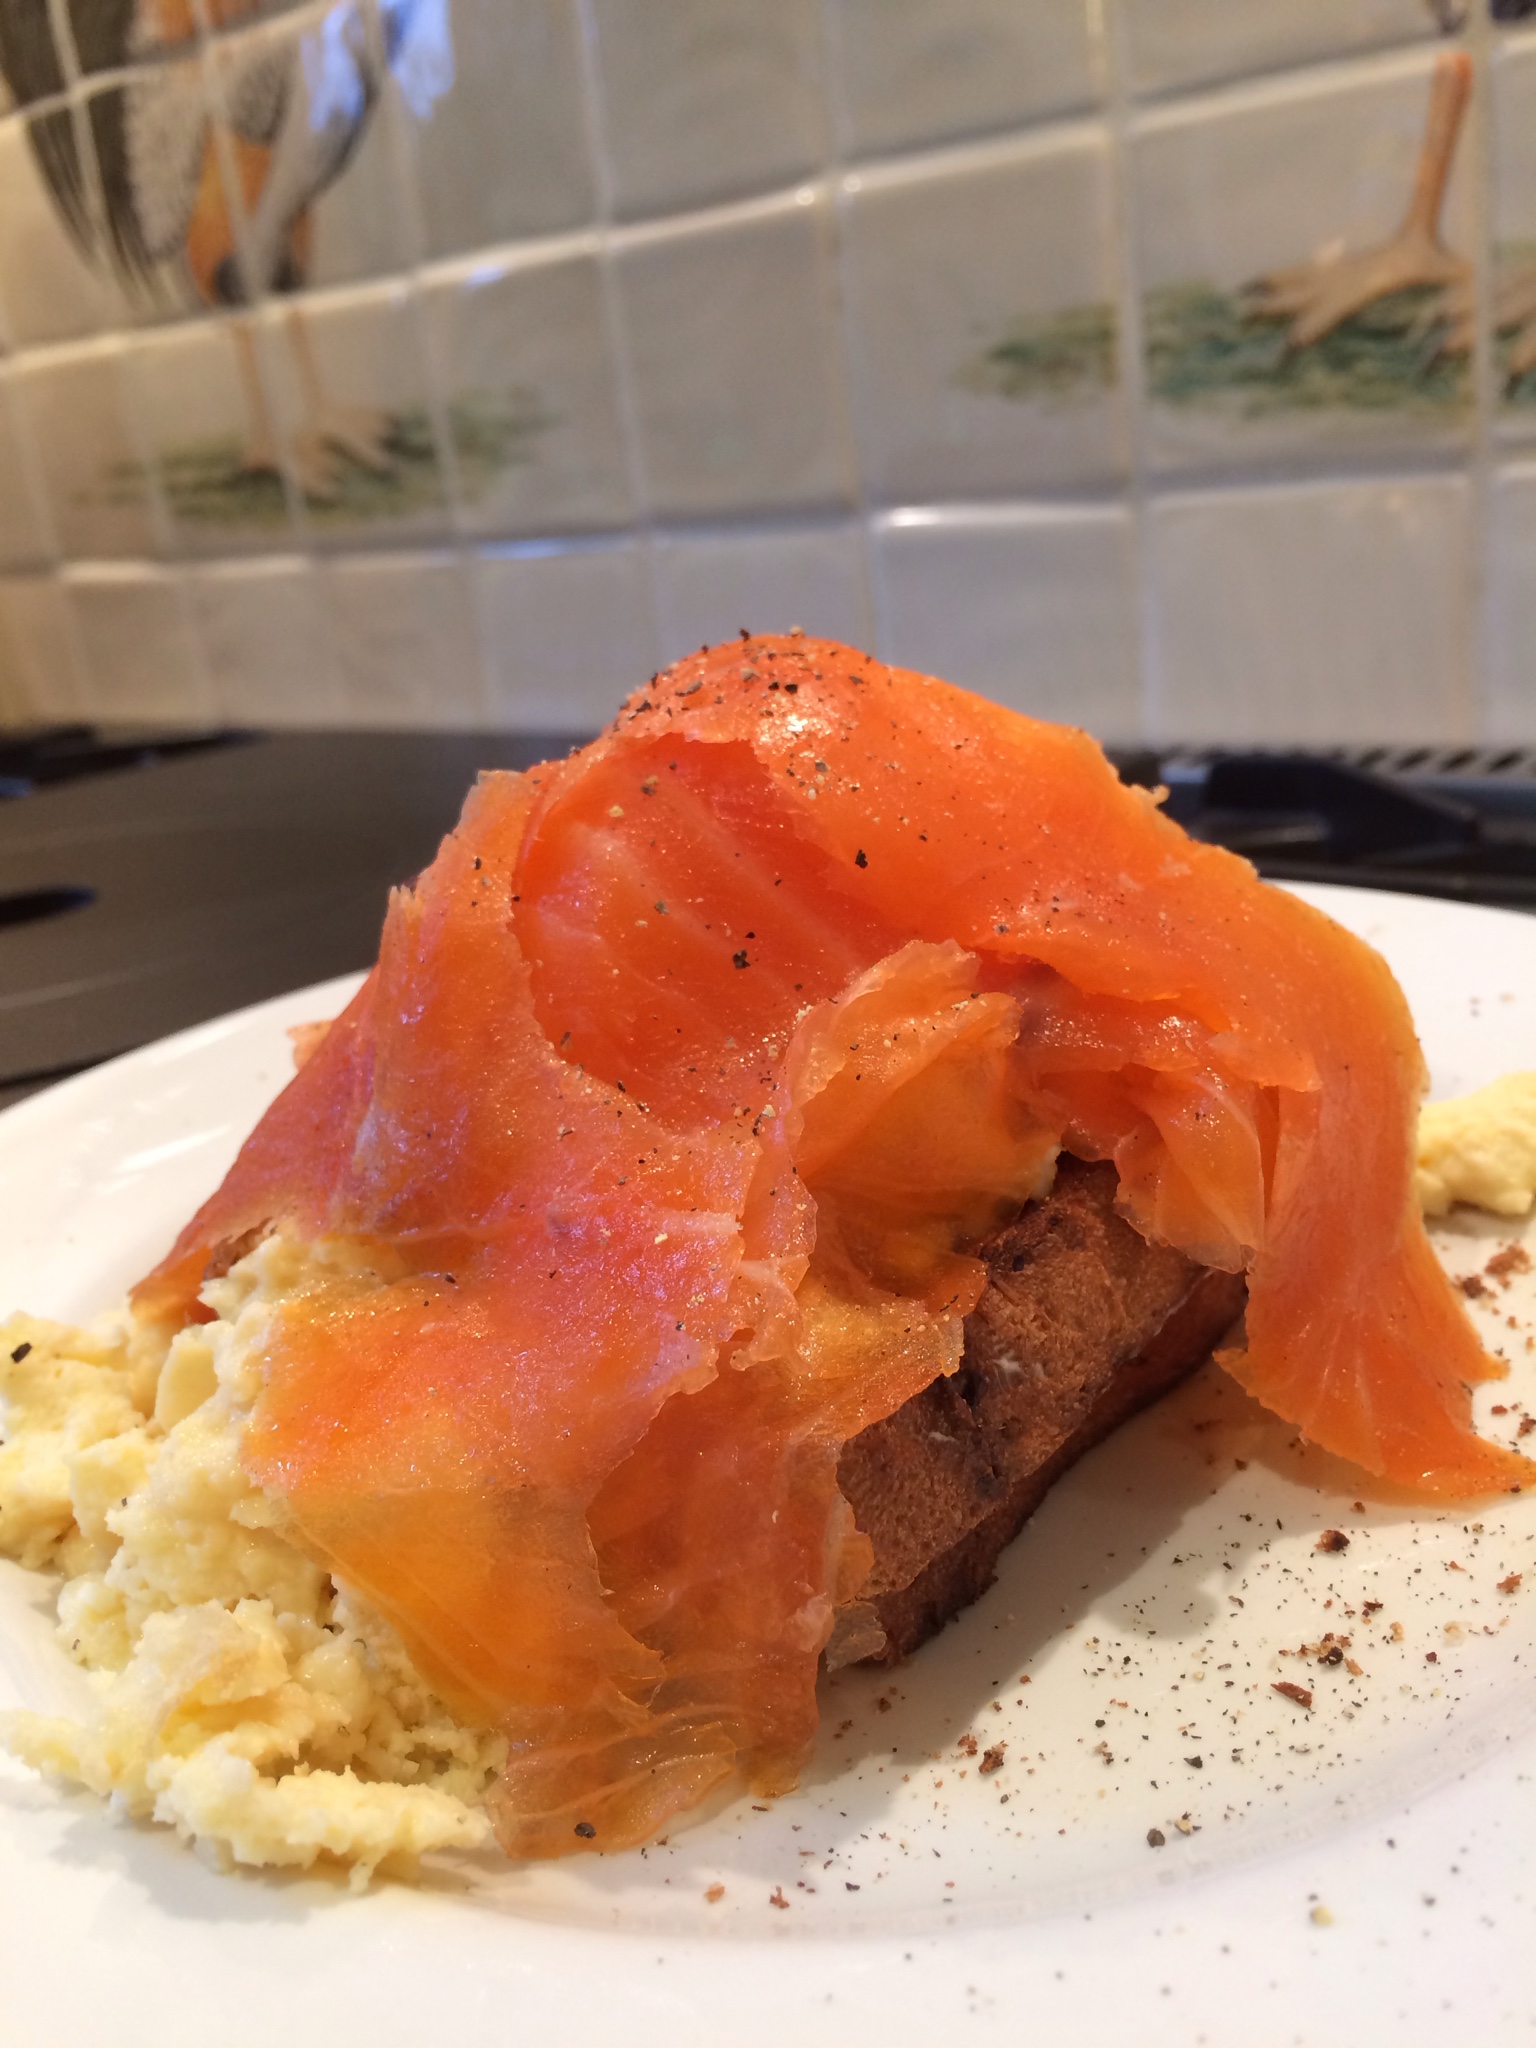
And here is SESS (scrambled egg and smoked salmon) – a delicious breakfast or lunch.


1 Comment
Looks great!