

Here’s my description of building a cold smoker from basic materials.
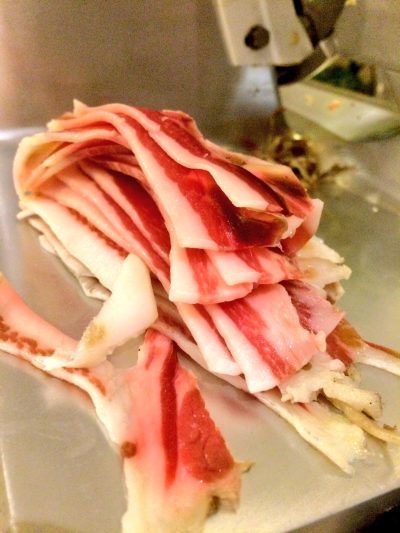
Having made my own bacon I was keen to try smoking meat.
Research on the internet told me that there’s two types of smoking: hot and cold. Food that is to be cold smoked needs to be cured first and as I’ve done this a few times before with bacon this was a more natural choice than hot smoking.
It’s fair to say that I got a bit carried away with building the cold smoker and have ended up with one that is hugely over-engineered. Should do a great job though!
Materials:
Frame: 34mm x 34mm softwood PSE/PAR
Shelf supports: 18mm x 28mm softwood PSE/PAR
Sides and top: 14mm x 94mm tongue and groove softwood cladding
Wood glue, silicon sealant, screws and panel pins.
Base: left over 12mm marine plywood
Handles: 2 chest handles (from Amazon)
Casters: 50mm heavy duty rubber swivel castors (from eBay)
Catches: 50mm heavy duty right angle swivel catches (from Station Road Baseboards)
Smoker: Pro Q cold smoke generator
Stainless steel shelves and roasting dish (with internal rack) from eBay
Vents: Adjustable silver vent 76mm x 229mm (from Screwfix)
Method:
Whilst this may look complicated, it’s actually straightforward – build a frame, add some shelf supports, and then put sides, a top and a base on.
First task is to buy the shelves and the roasting dish from eBay as these will govern the size of the smoker.
The roasting dish does two jobs – it collects anything that drips off the food that is being smoked, and the internal rack provides a fireproof and stable platform for the smoke generator.
The shelves and the roasting dish should be roughly the same size. My roasting dish is 42cm x 31cm and the shelves are 38cm x 32cm.
The shelves and the roasting dish will determine the width of the smoker. At this point I’ll jump ahead so that you can see how to determine these dimensions:
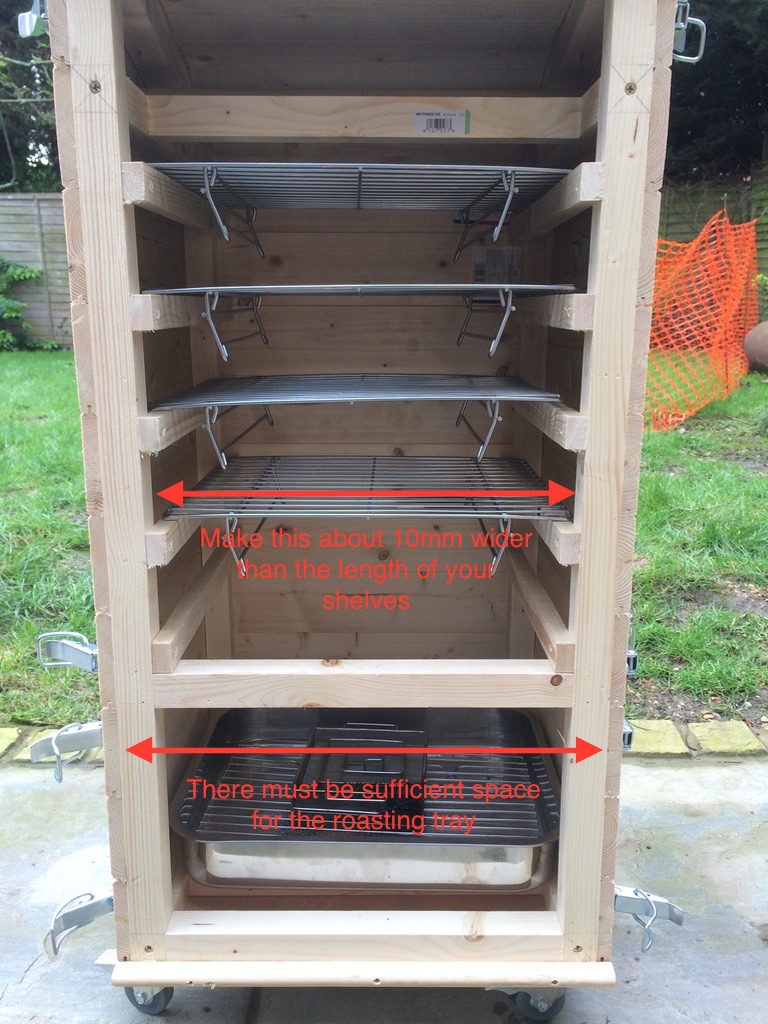
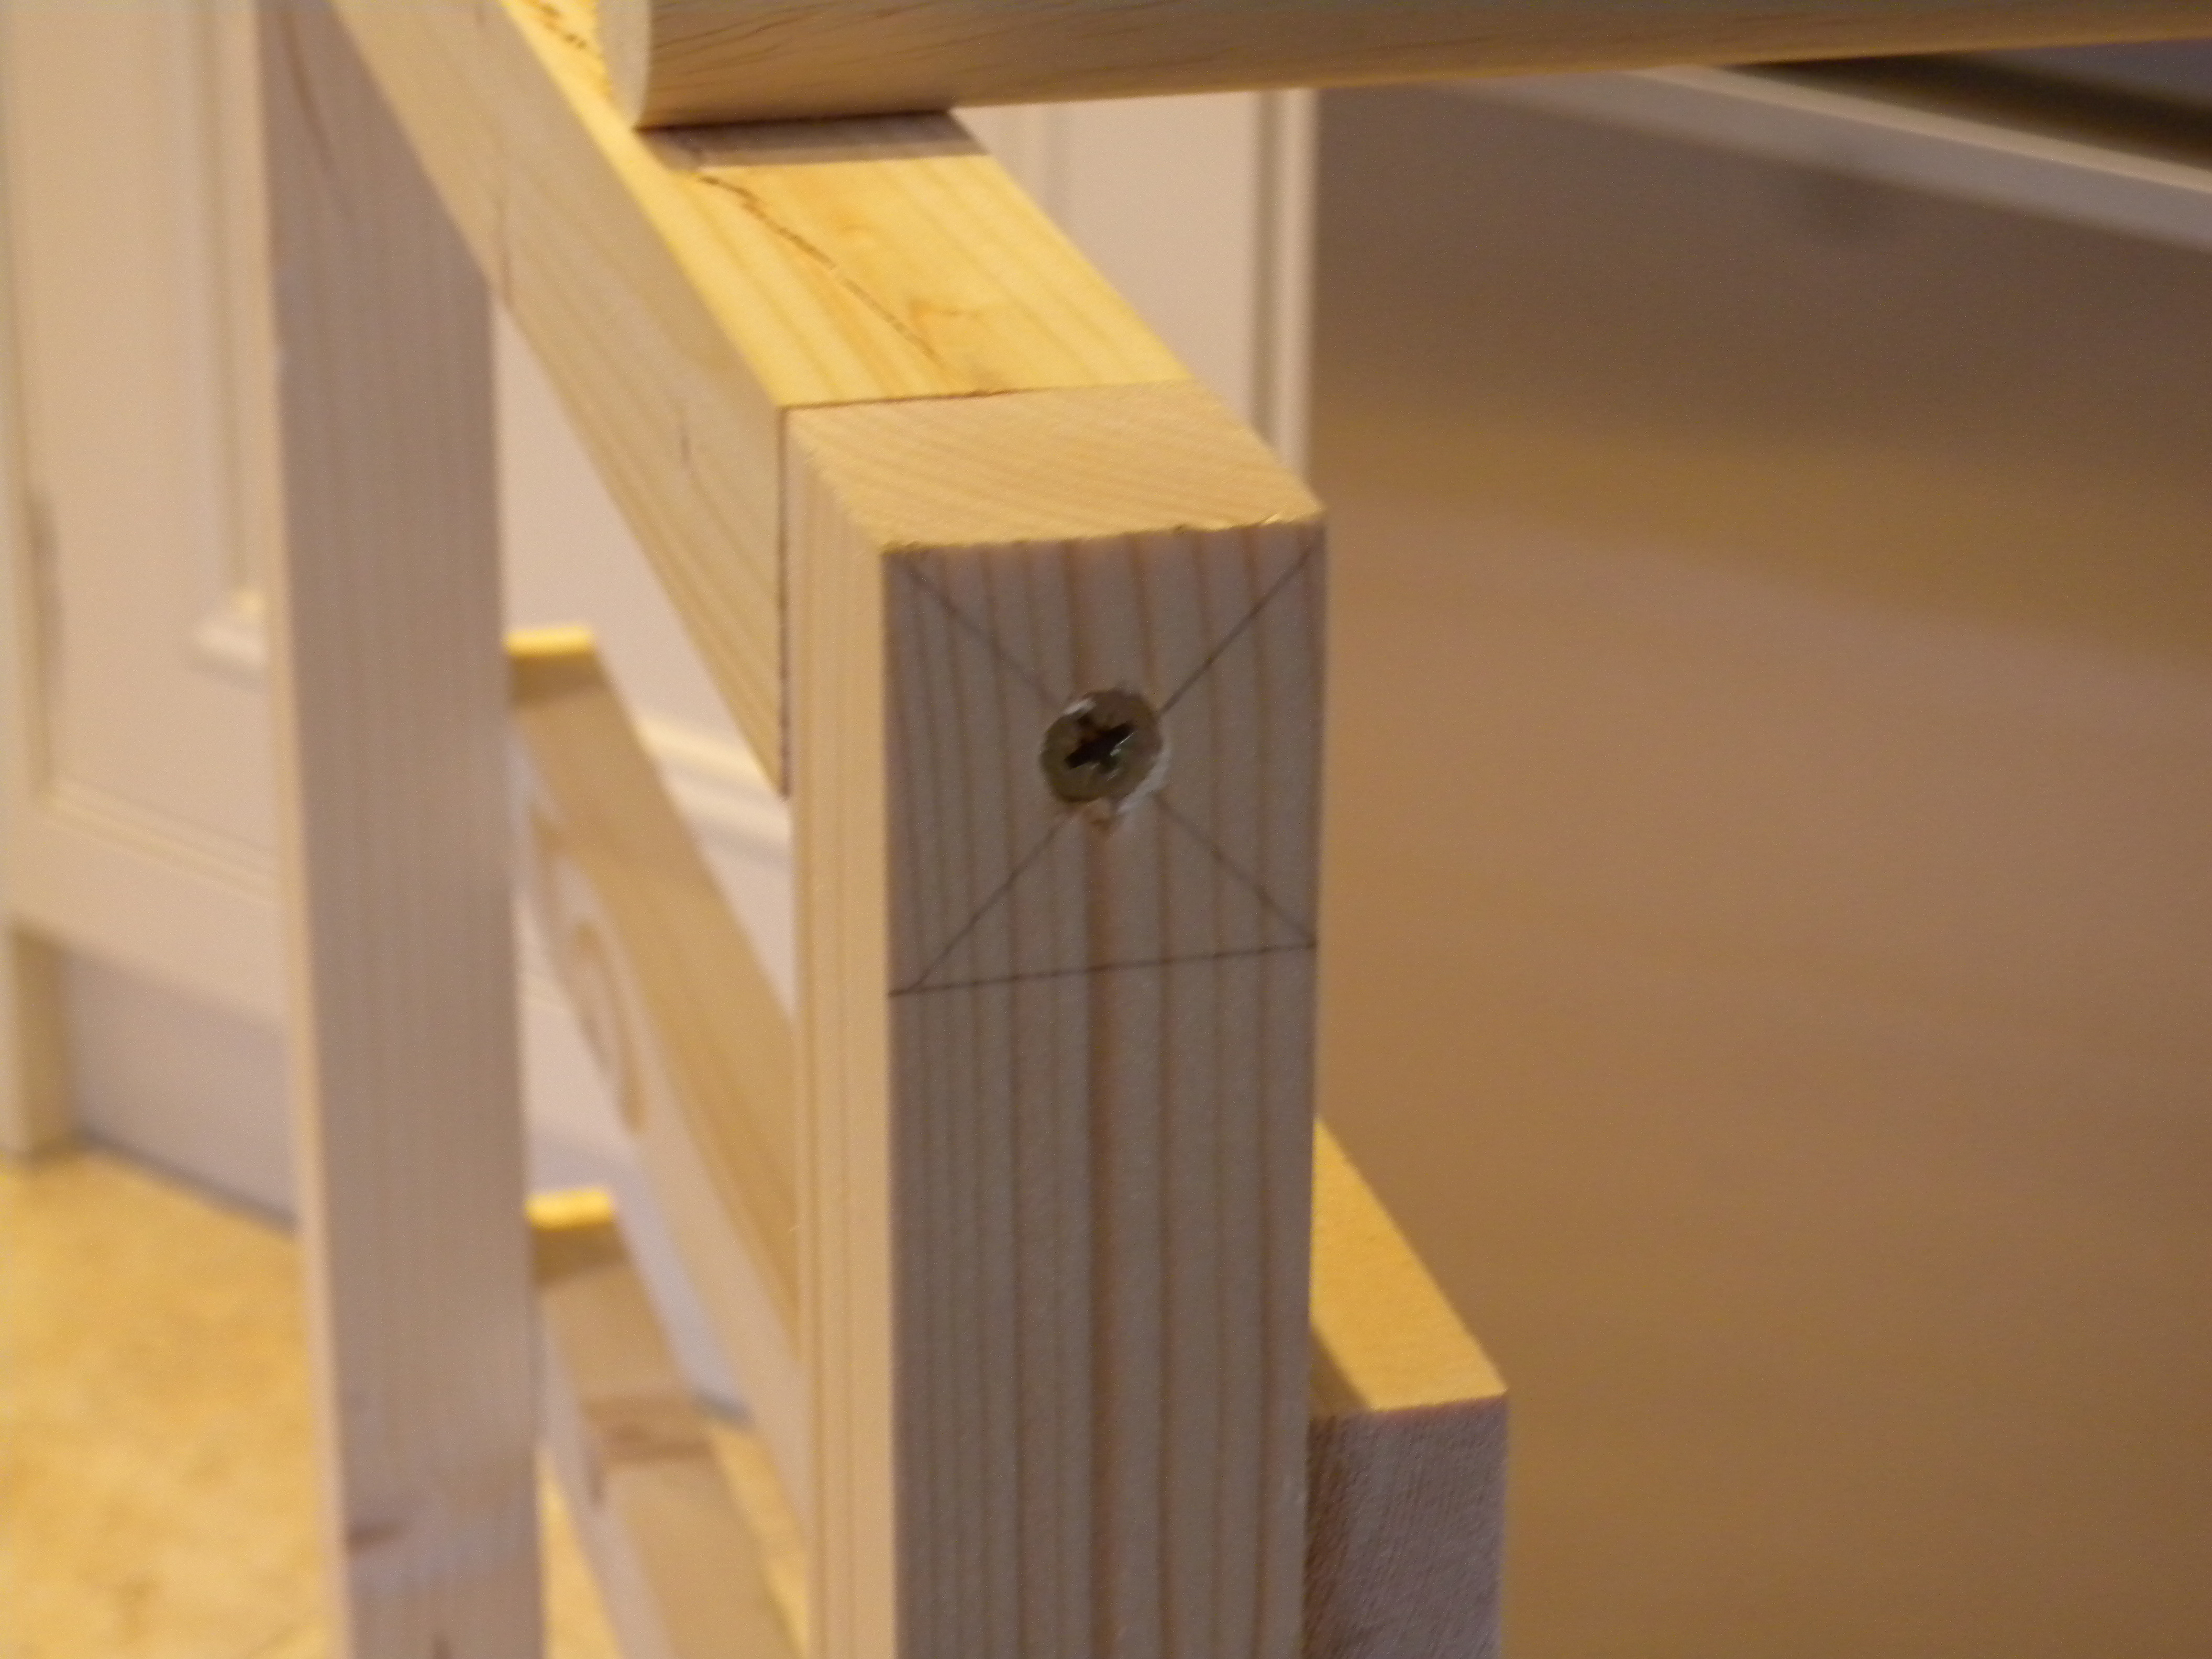
With the dimensions calculated, the next step is to build a framework from 34mm x 34mm to support the shelves. The joints are drilled, glued and screwed. This photo shows the joints:
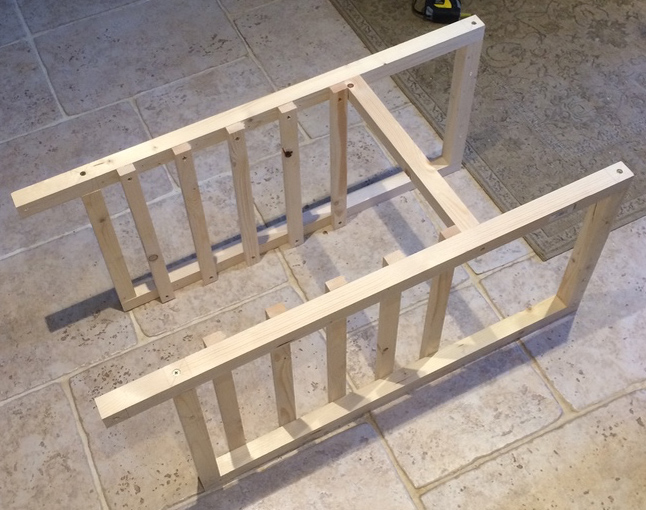
This photo shows the cold smoker lying on its back. The front is slightly taller than the back (by about 10cm) to allow for the lid to be sloped. This will make sure that the smoke rises naturally to the front of the smoker and towards an adjustable vent. The runners for the shelves are from 18mm x 28mm.
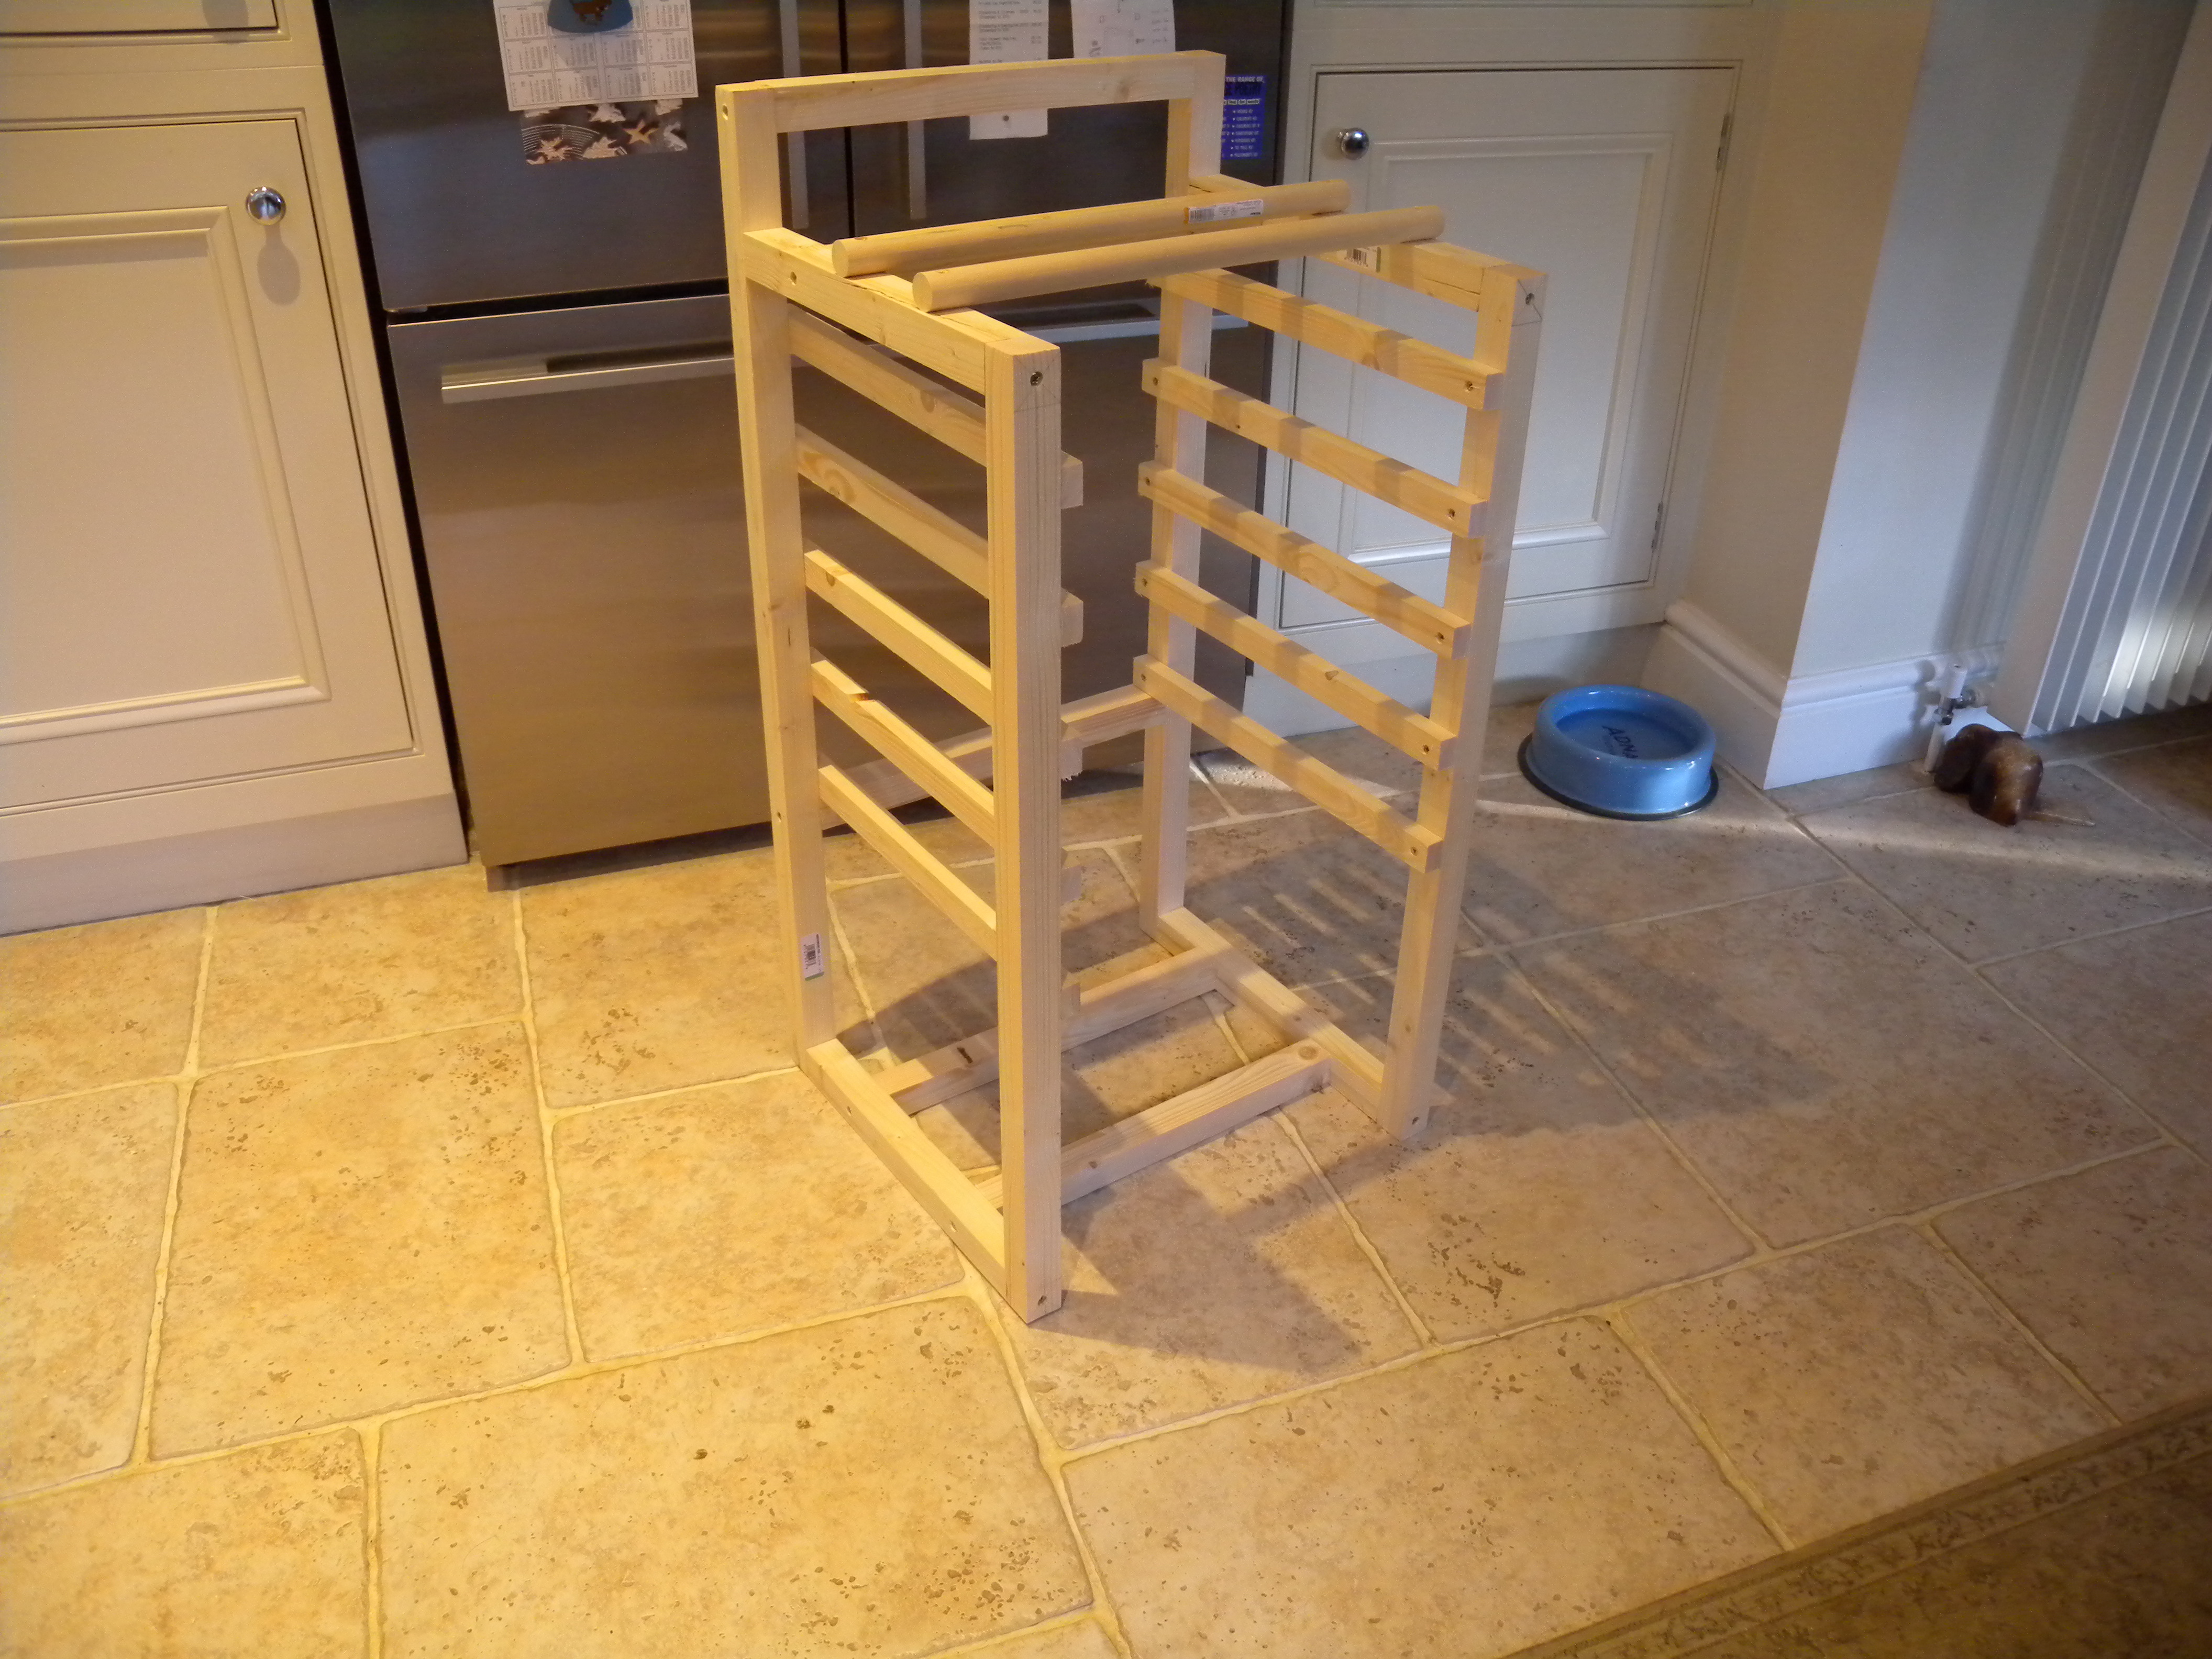
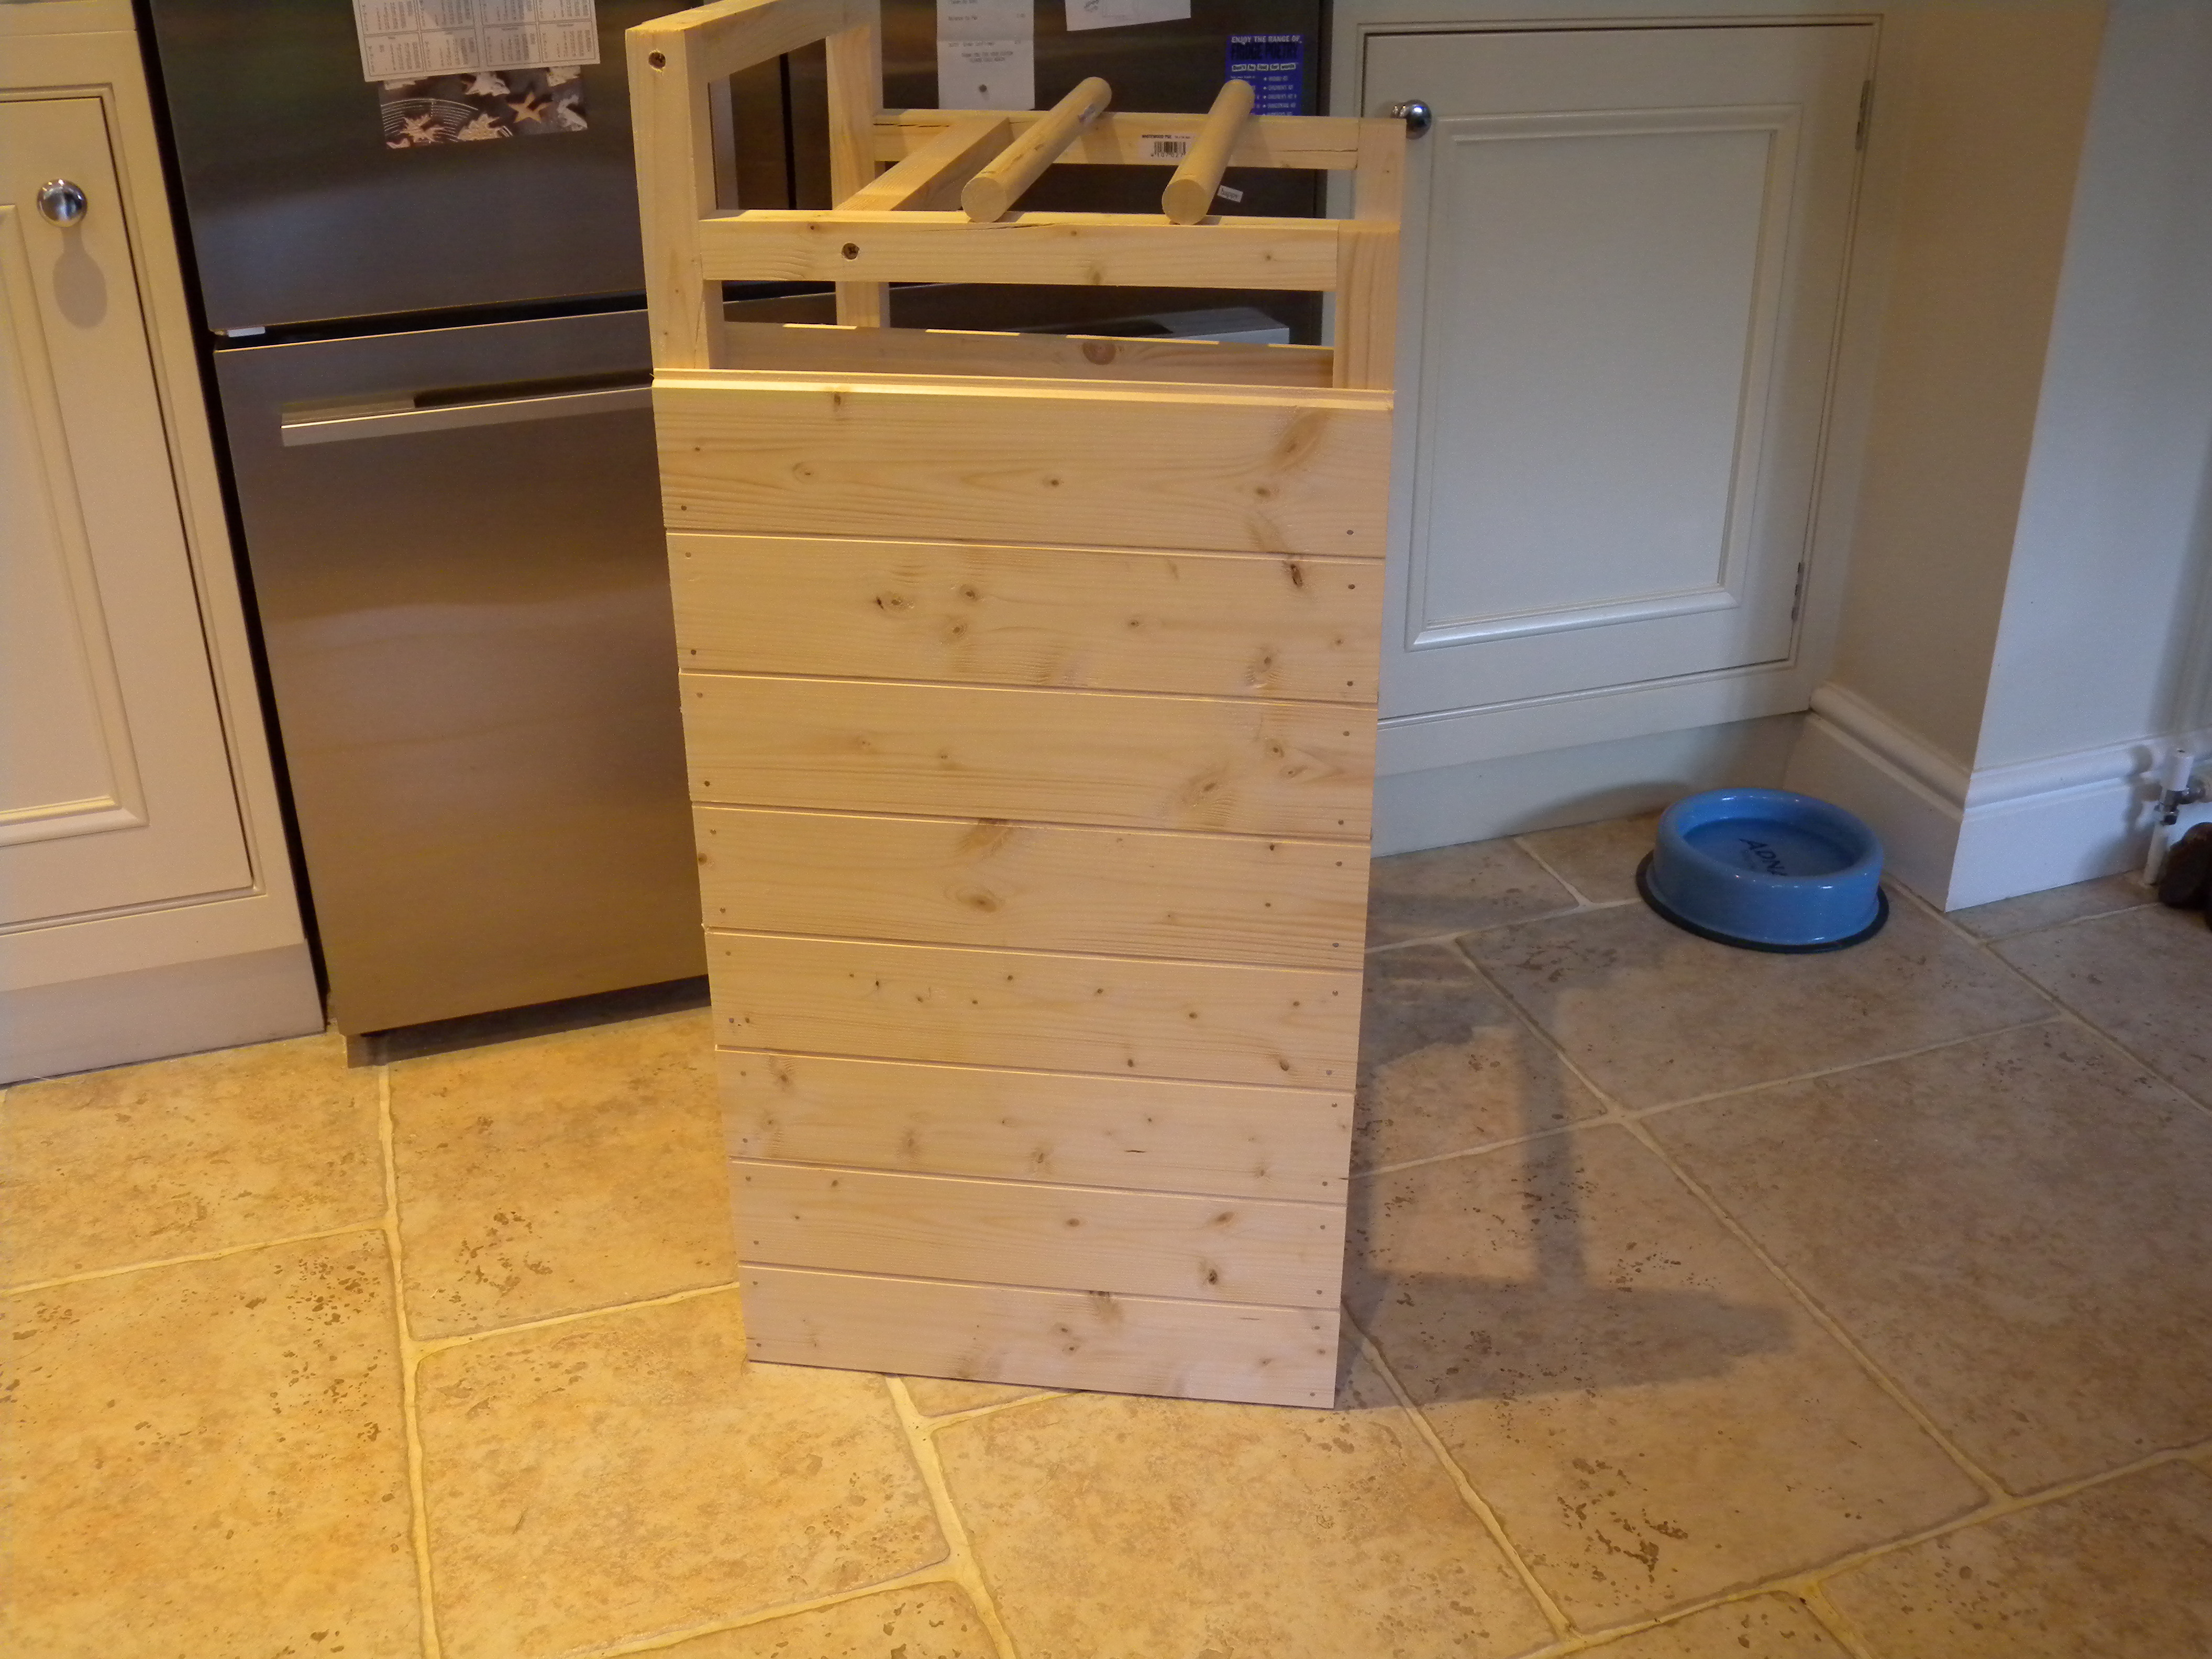
Here’s the framework (the front is away from the camera). There’s two lengths of dowel across the top – the intention with this is for hanging food.
As soon as the framework is built then it’s an easy job to add the cladding to the sides and the back. The cladding runs horizontally. Measure one piece to size and then cut all the other pieces to the same size. The cladding that I used is “tongue and groove” so the groove should face down and the tongue should face up. Start at the bottom and nail the first piece on. Apply a thin line of glue inside the groove of the next piece and slide down the side of the smoker so that the groove fits tightly over the tongue of the piece that’s already nailed to the smoker. Then nail it down. Repeat until the top is reached. Do the same on the other side, and then do the back. Here’s the side going on.
I did the sides first and then the back. Unfortunately this leaves the grain on the end exposed to anyone looking at the side of the smoker, and I’ve had to cover it up by gluing square moulding over the join. If I were making this again that I’d fit the cladding to the back first, and then do the sides. This would effectively hide the end grain from everyone except someone standing directly behind the smoker. No practical impact but to me it was aesthetically important.
The sides of the smoker will finish at an angle so the cladding will need to be trimmed. I did this roughly with a handsaw and then tidied it up with a router.
The base is some left over 12mm ply that I had. Cut it to fit and screw securely to the base.
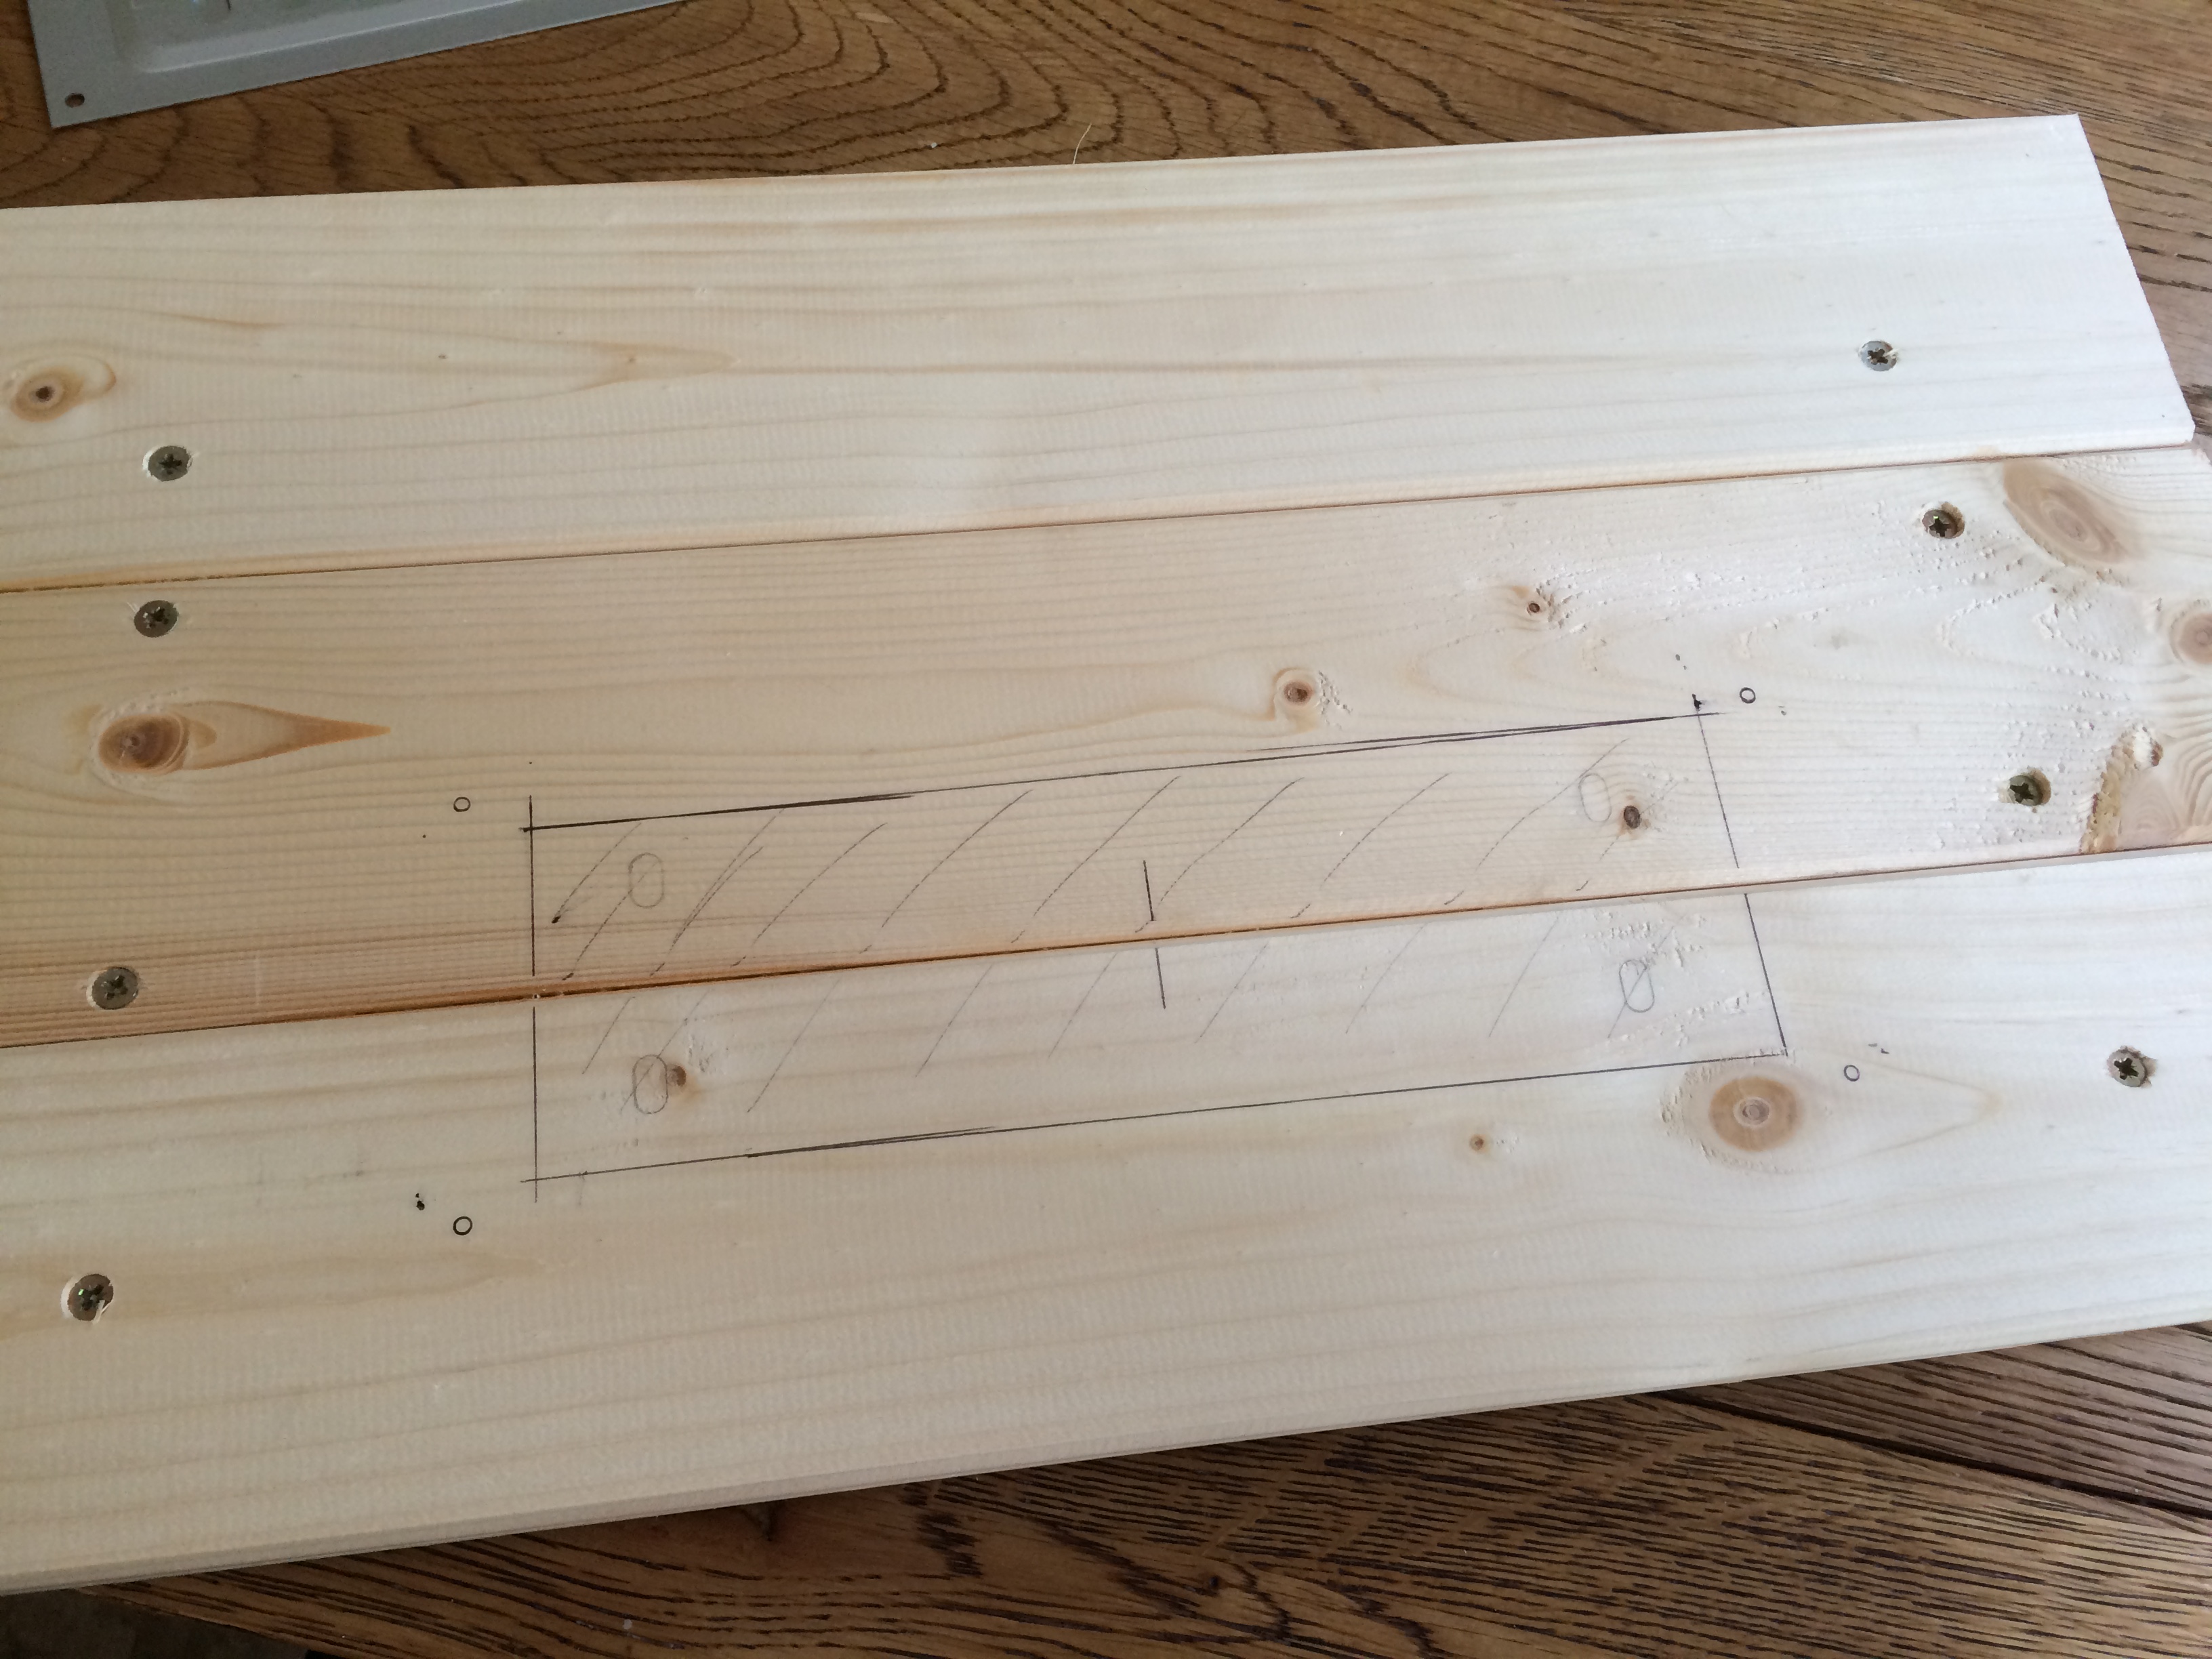
The front doors are made in two sections. The lower section is three strips of cladding glued together with vertical battens glued and screwed on to the rear. These battens fit snugly inside the frame to stop it moving sideways or sliding down. The “tongue” across the top strip of cladding has been carefully removed with a sharp knife and then sanded down to fit. The upper section was made in the same way.
I then cut a hole in both door sections to take an adjustable vent. Mark it out, drill 8mm holes in the corners and then use a jigsaw to cut the opening. I bedded the vents onto a small bead of sealant to reduce smoke escaping.
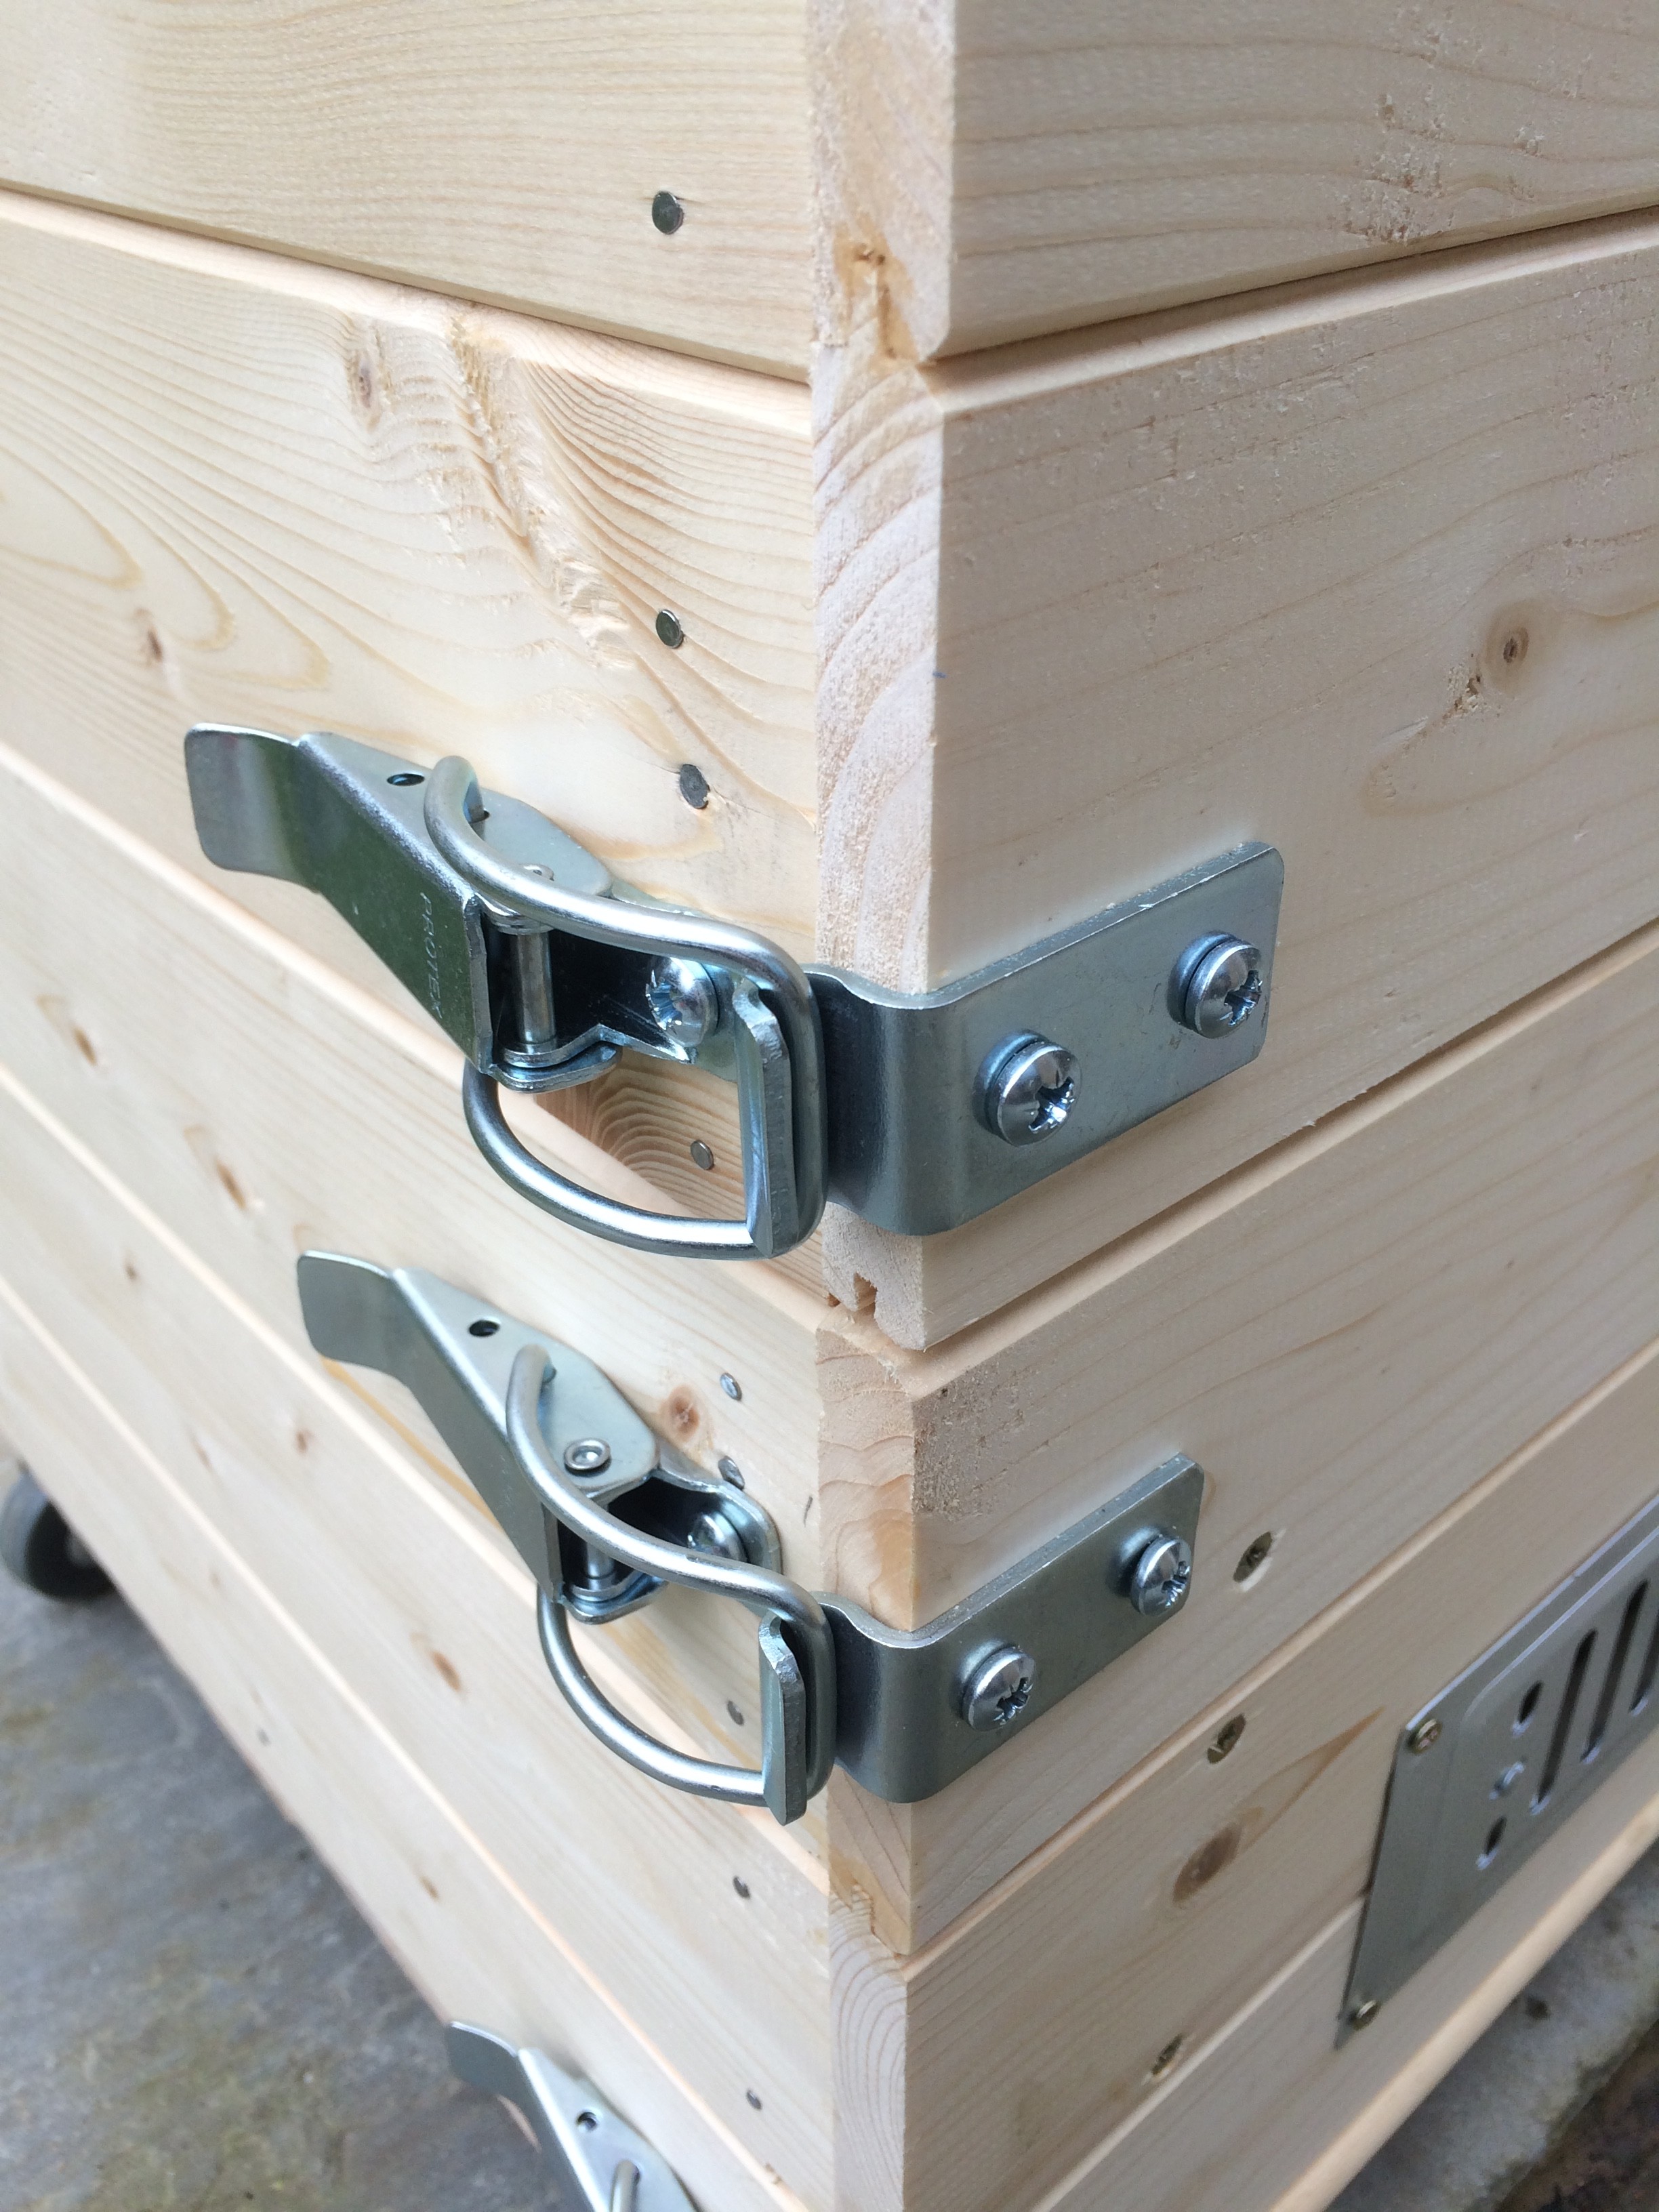
Next task was to fit the catches to the door sections. It’s easy to get flat catches but these would have needed to be screwed into the end grain of the door sections and I wanted a more secure fixing than this. Right angle catches were surprisingly difficult to track down. I eventually found some that were intended to join together sections of a model railway layout. They’re stocked by Station Road Baseboards who were incredibly quick with delivery.
The lid is made from cladding but with an overlap of around 40mm on each side. It’s glued together and the front “tongue” has been removed and will be rounded off. It’s sitting on a generous bedding of sealant and screwed down. I used clear sealant so that it wasn’t obvious.
Final task is to fit castors and handles. Neither are strictly necessary but it this has mutated into a fairly heavy bit of kit!
I cannot wait to try it out.
4 Comments
nice simple design to produce though being new to this what do you burn/create the smoke with and does it require a minimum temperature or not?
Oak saw dust
You did a lovely job building this. Reminds me of my dad’s joinery and looks professional.
And here comes the ‘but’.
Please don’t be annoyed with me, I’m not a hater, but I am disabled and this would be an impossible task for me to build. I do have more bacon planned.
We accumulate masses of Amazon thick card boxes and I thought of cutting flaps or holes wherever necessary, with a hole at the bottom for the smoke generator to fit in.
I ask your advice though. I planned to use a broom handle and hooks to suspend the meat. I wouldn’t be using the smoker for very much, unlike , i assume you do. Is there any reason why you’re using shelves that I’ve missed?
Thank you for any advice 🙂
When smoking fish I remove the shelves and hang the fish from a broom handle at the top.